DIY Wooden Engagement Ring and Box
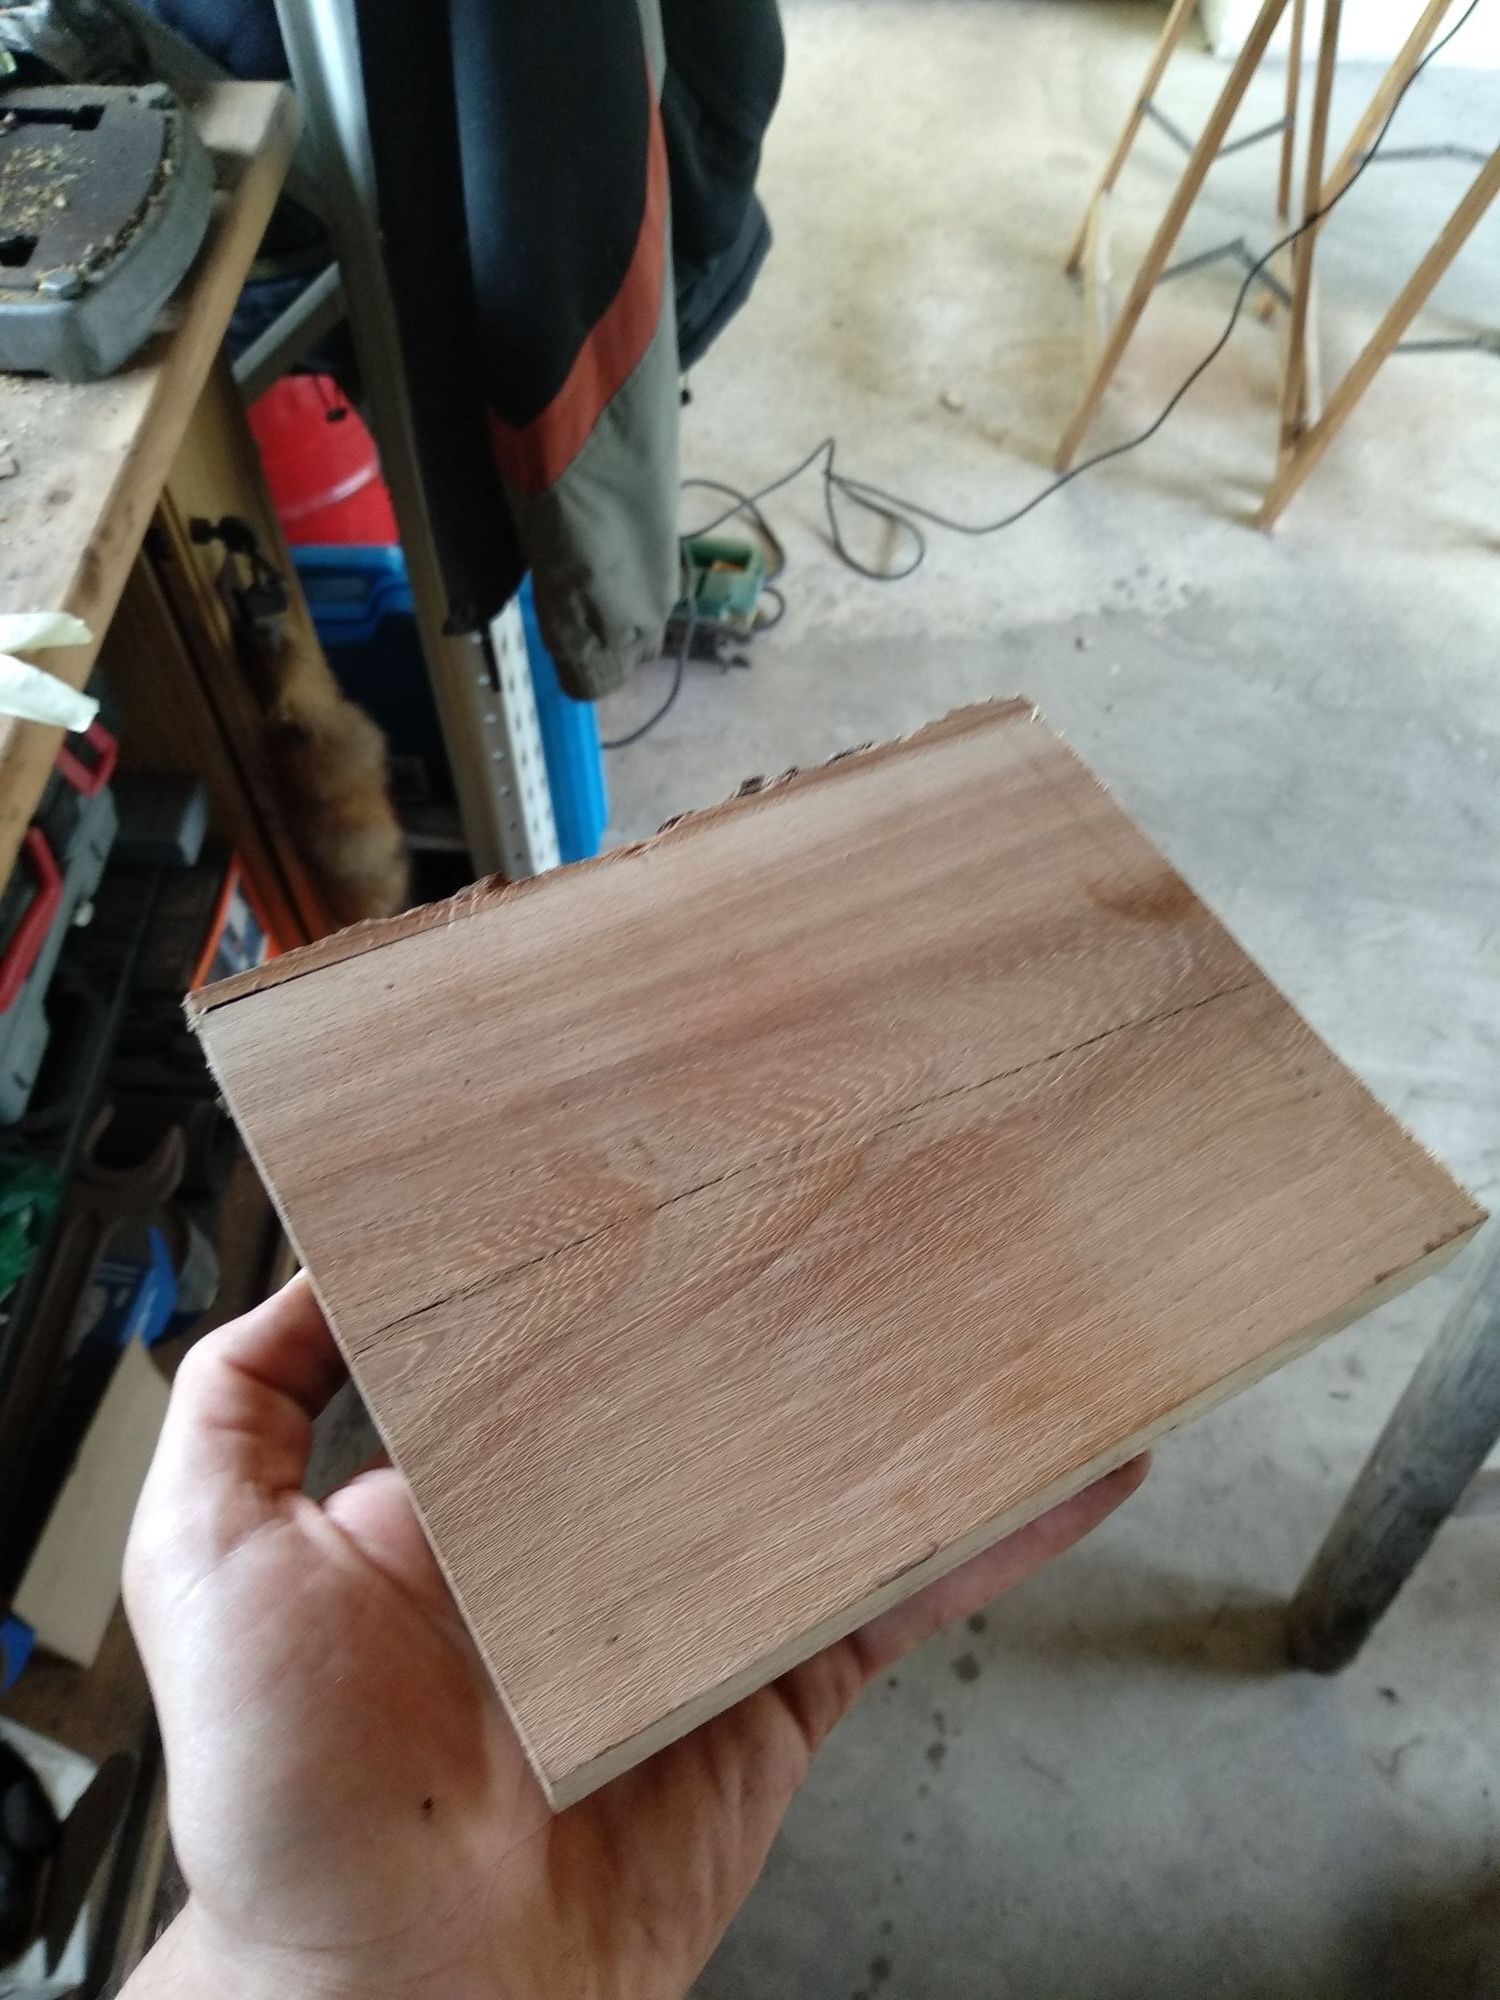
This is where the journey started: just a nice and straight sheet of cherry wood that I found in my grandfather’s basement. Cherry trees grow slowly, thus their wood is very hard. Perfect for creating a small yet sturdy object. Additionally, cherry wood also features an easily visible grain and has the characteristic red-ish color. These two features come into one’s one after polishing and oiling the wood.
After choosing the right area of the wood (looking at the shape and direction of the grain), I cut out a little 3cm x 3cm piece.
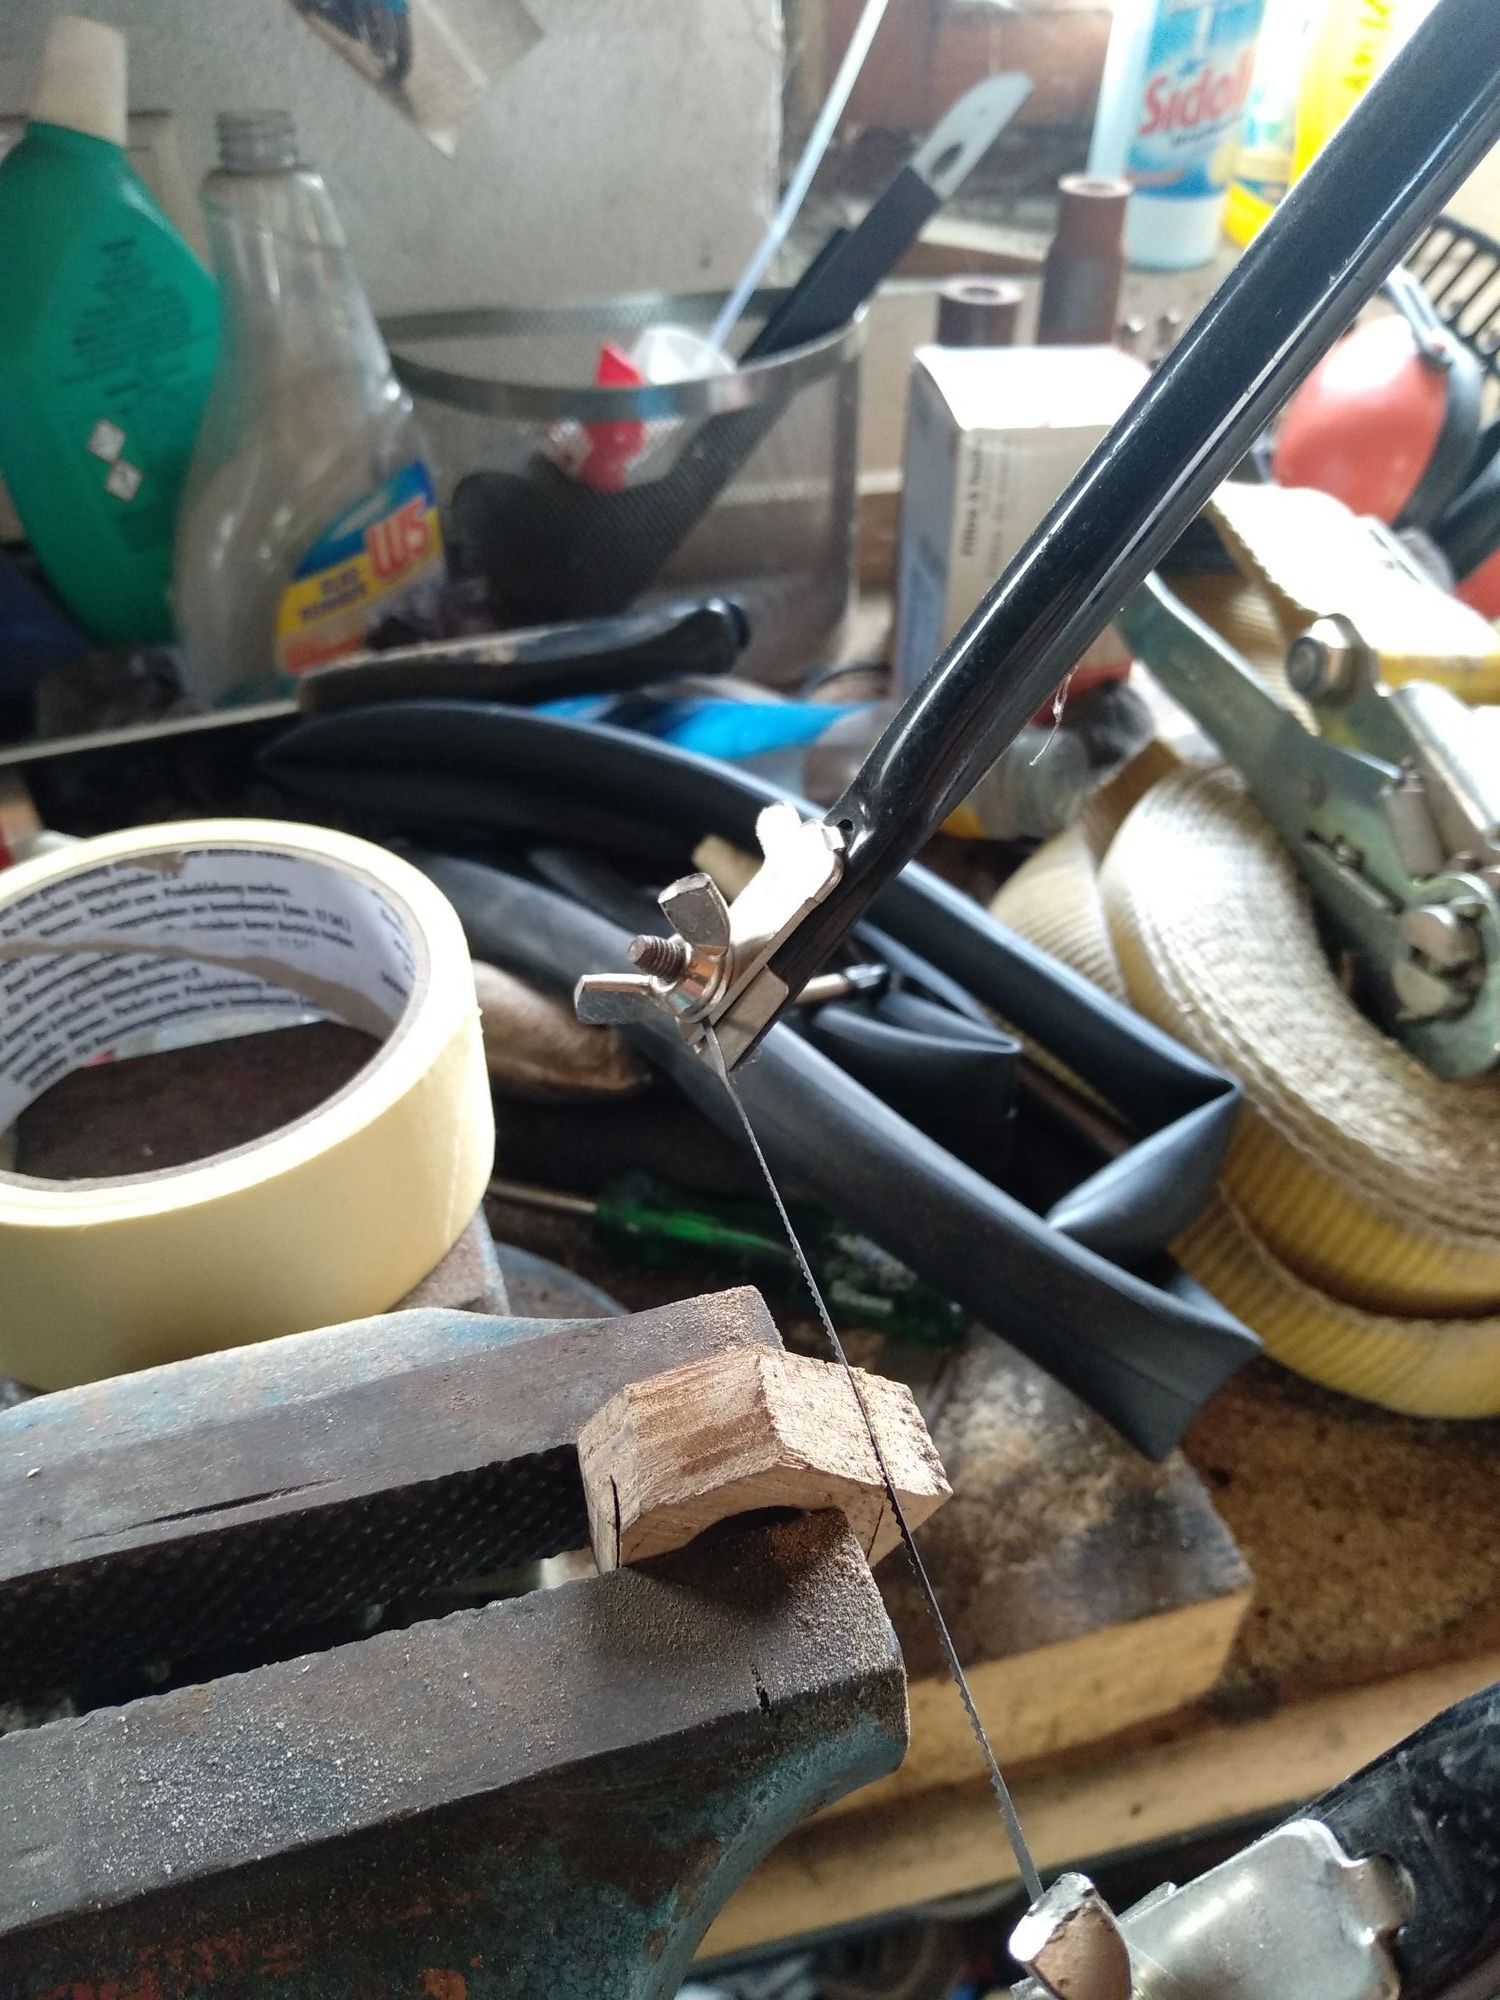
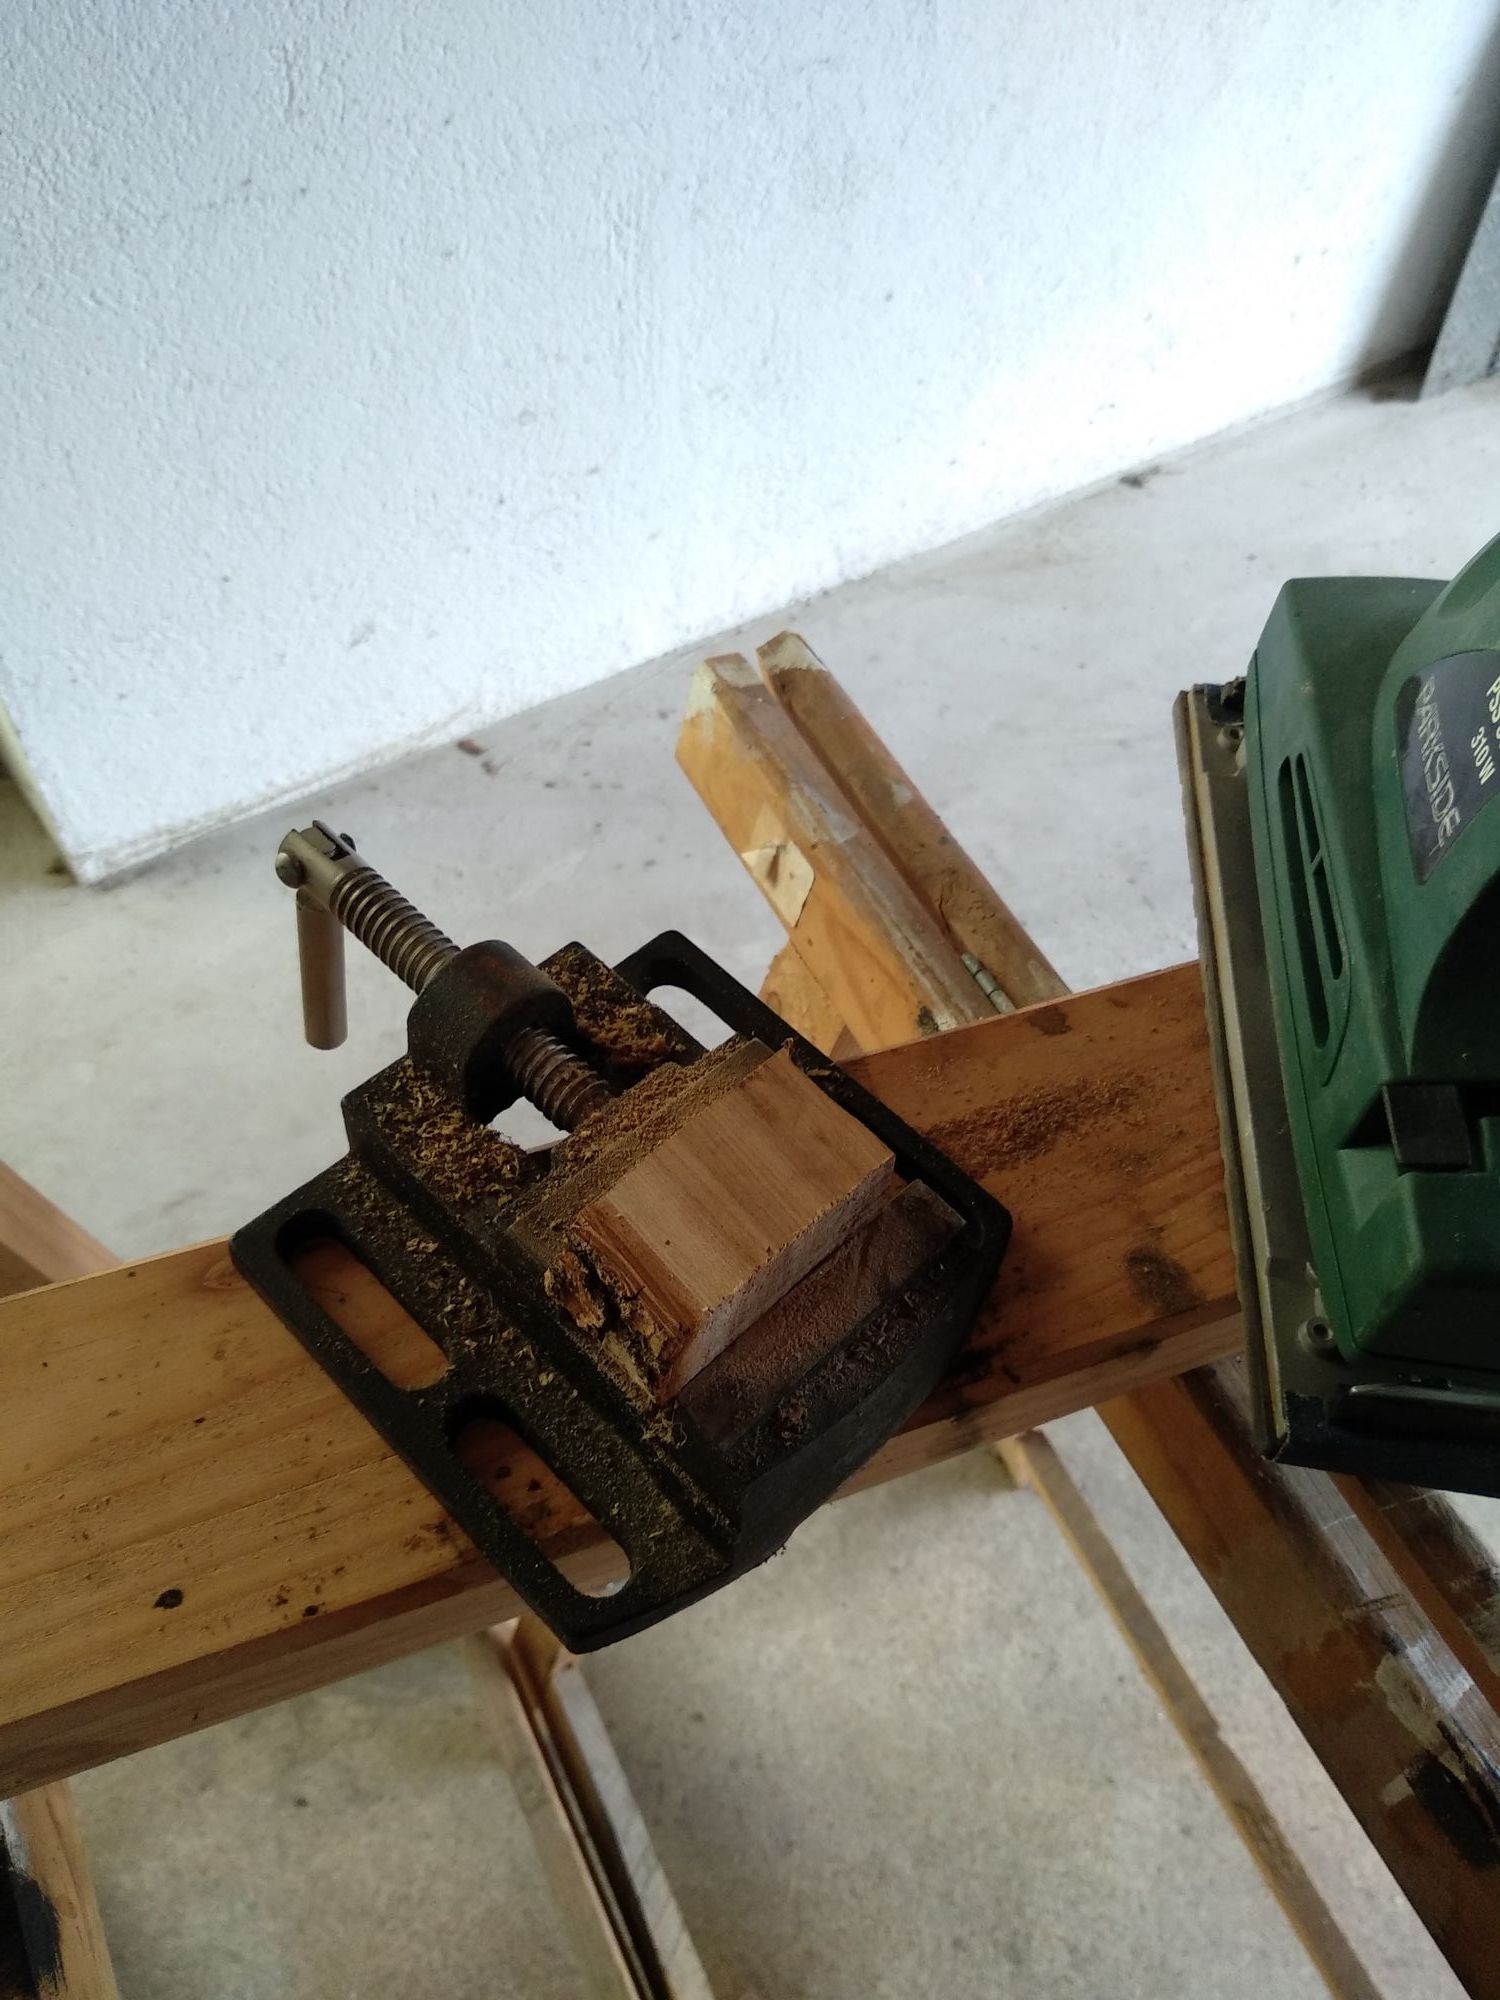
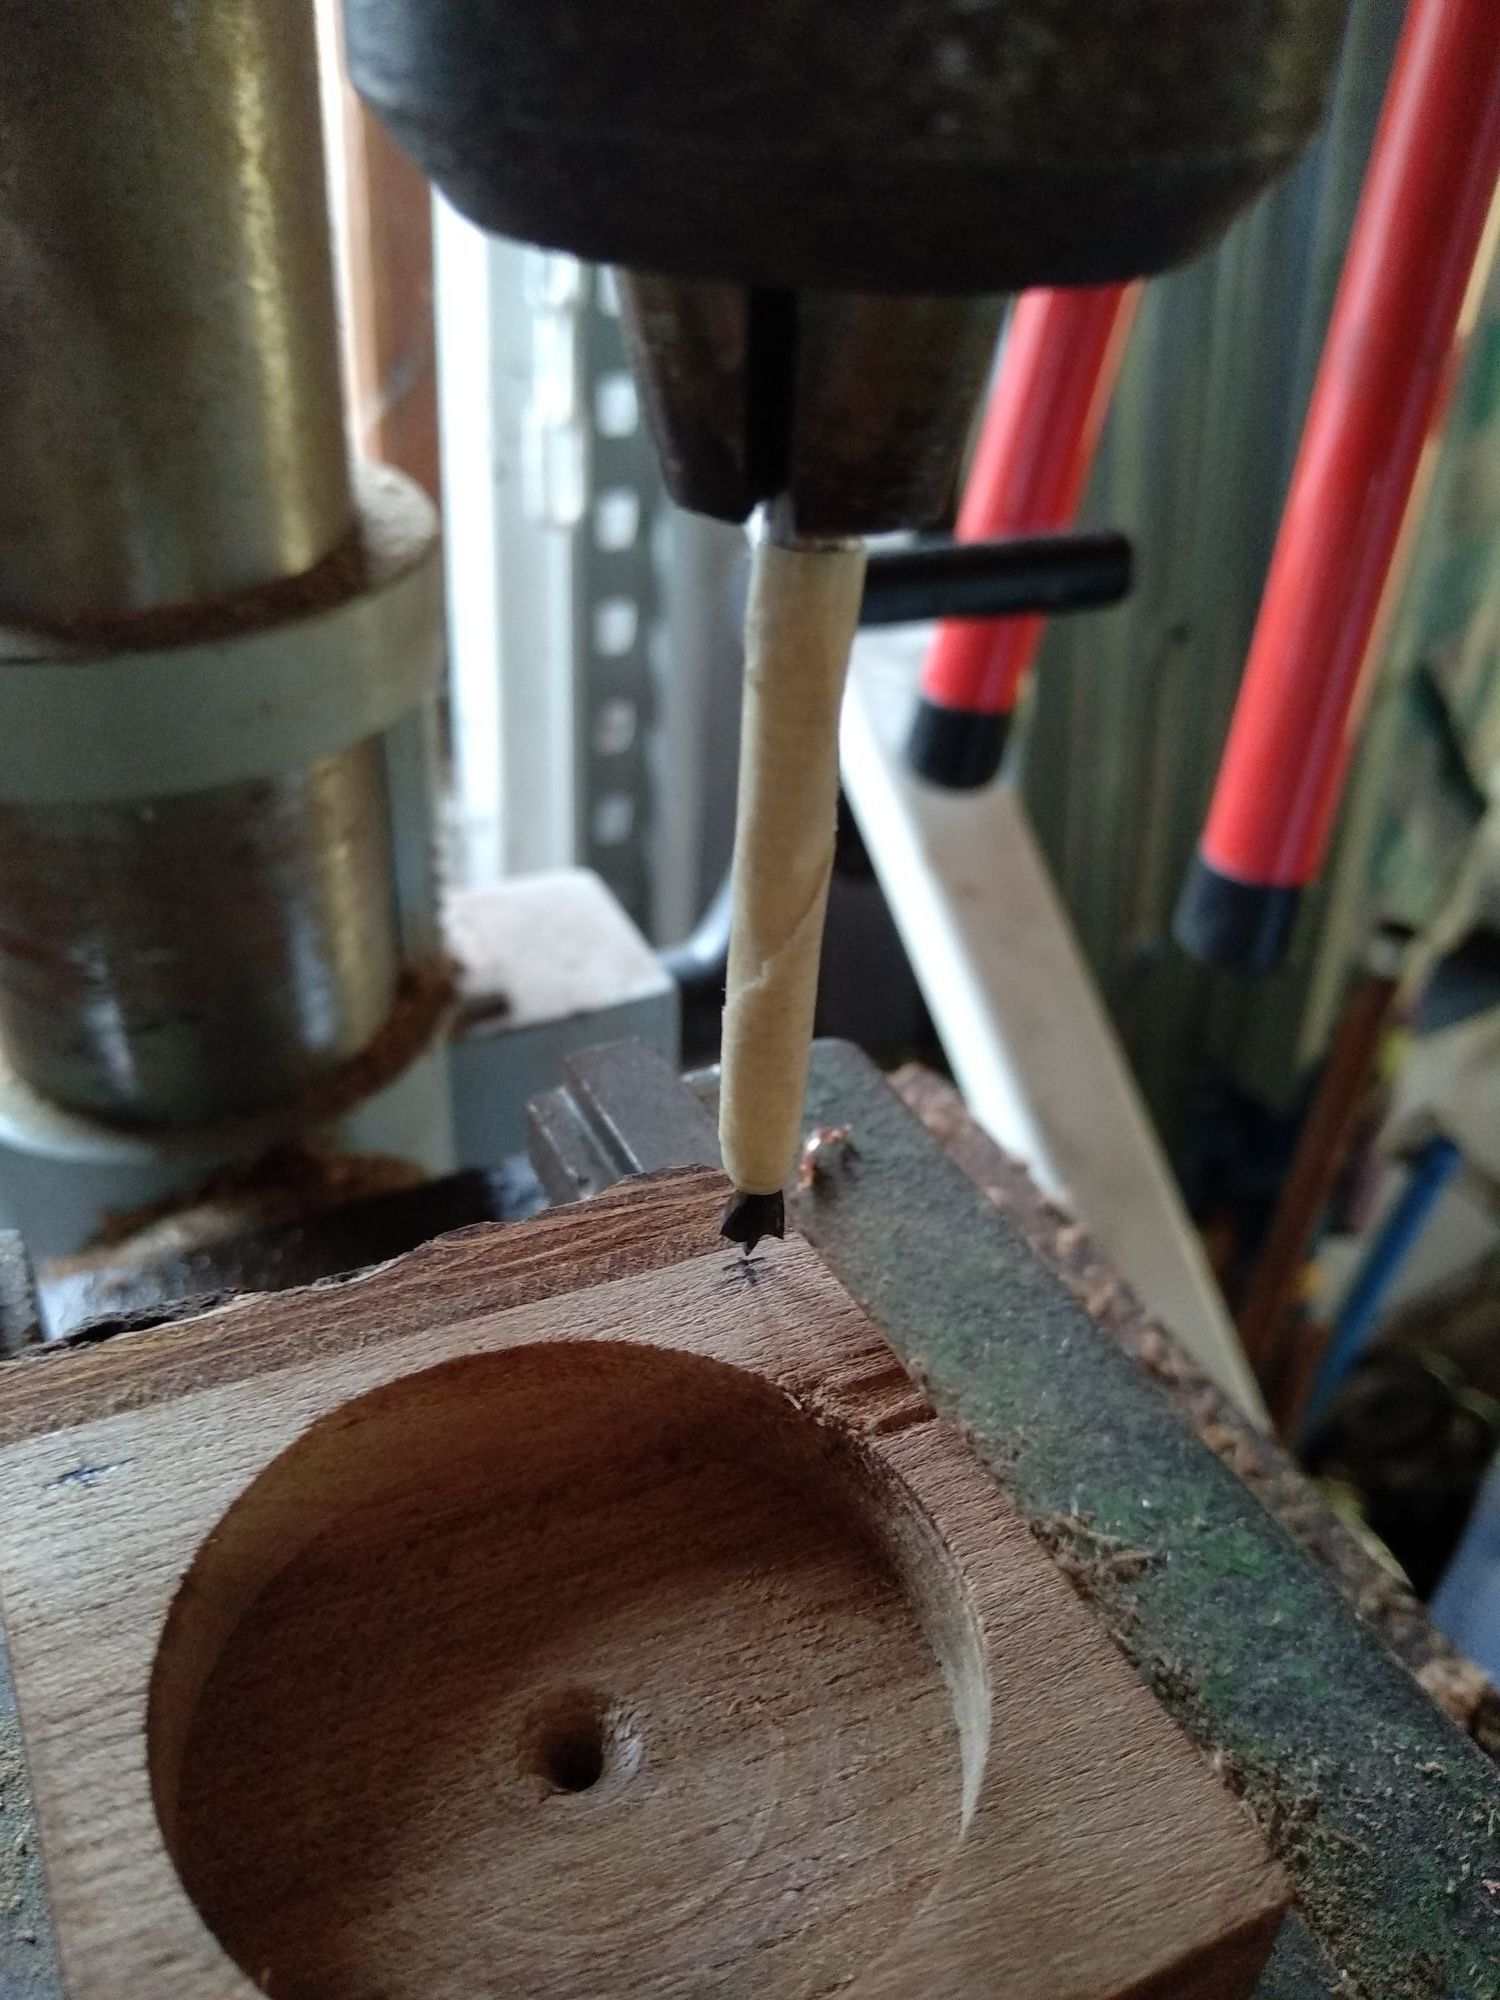
After I cut out the hole in the middle (I choose 15mm because I can always expand the diameter), I started trimming down the edges along the outside.
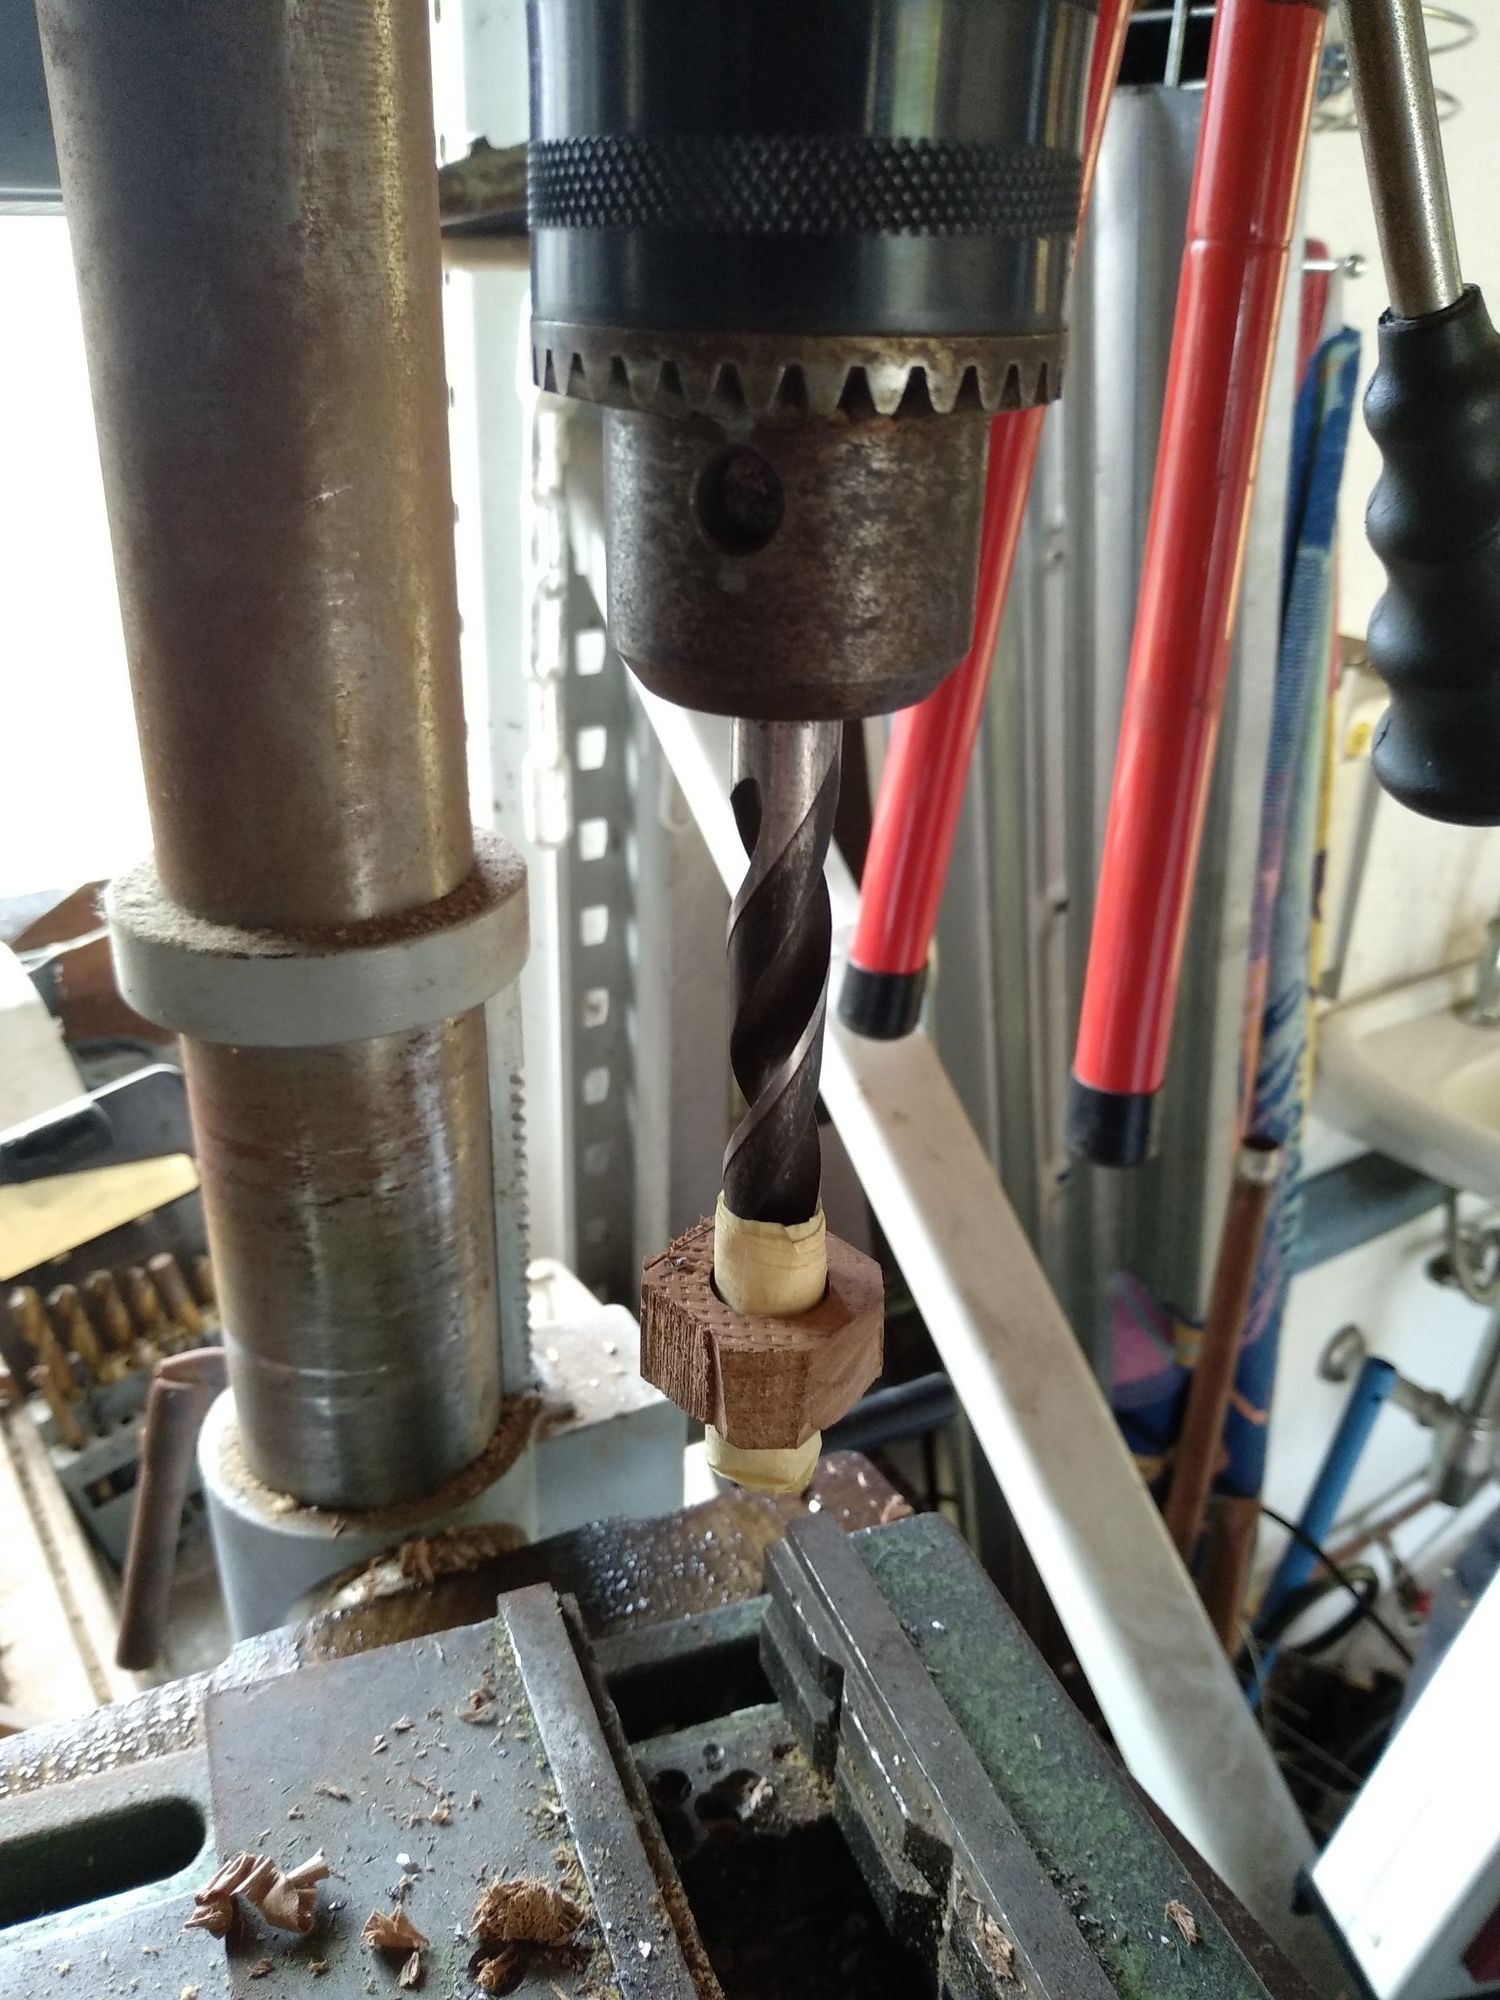
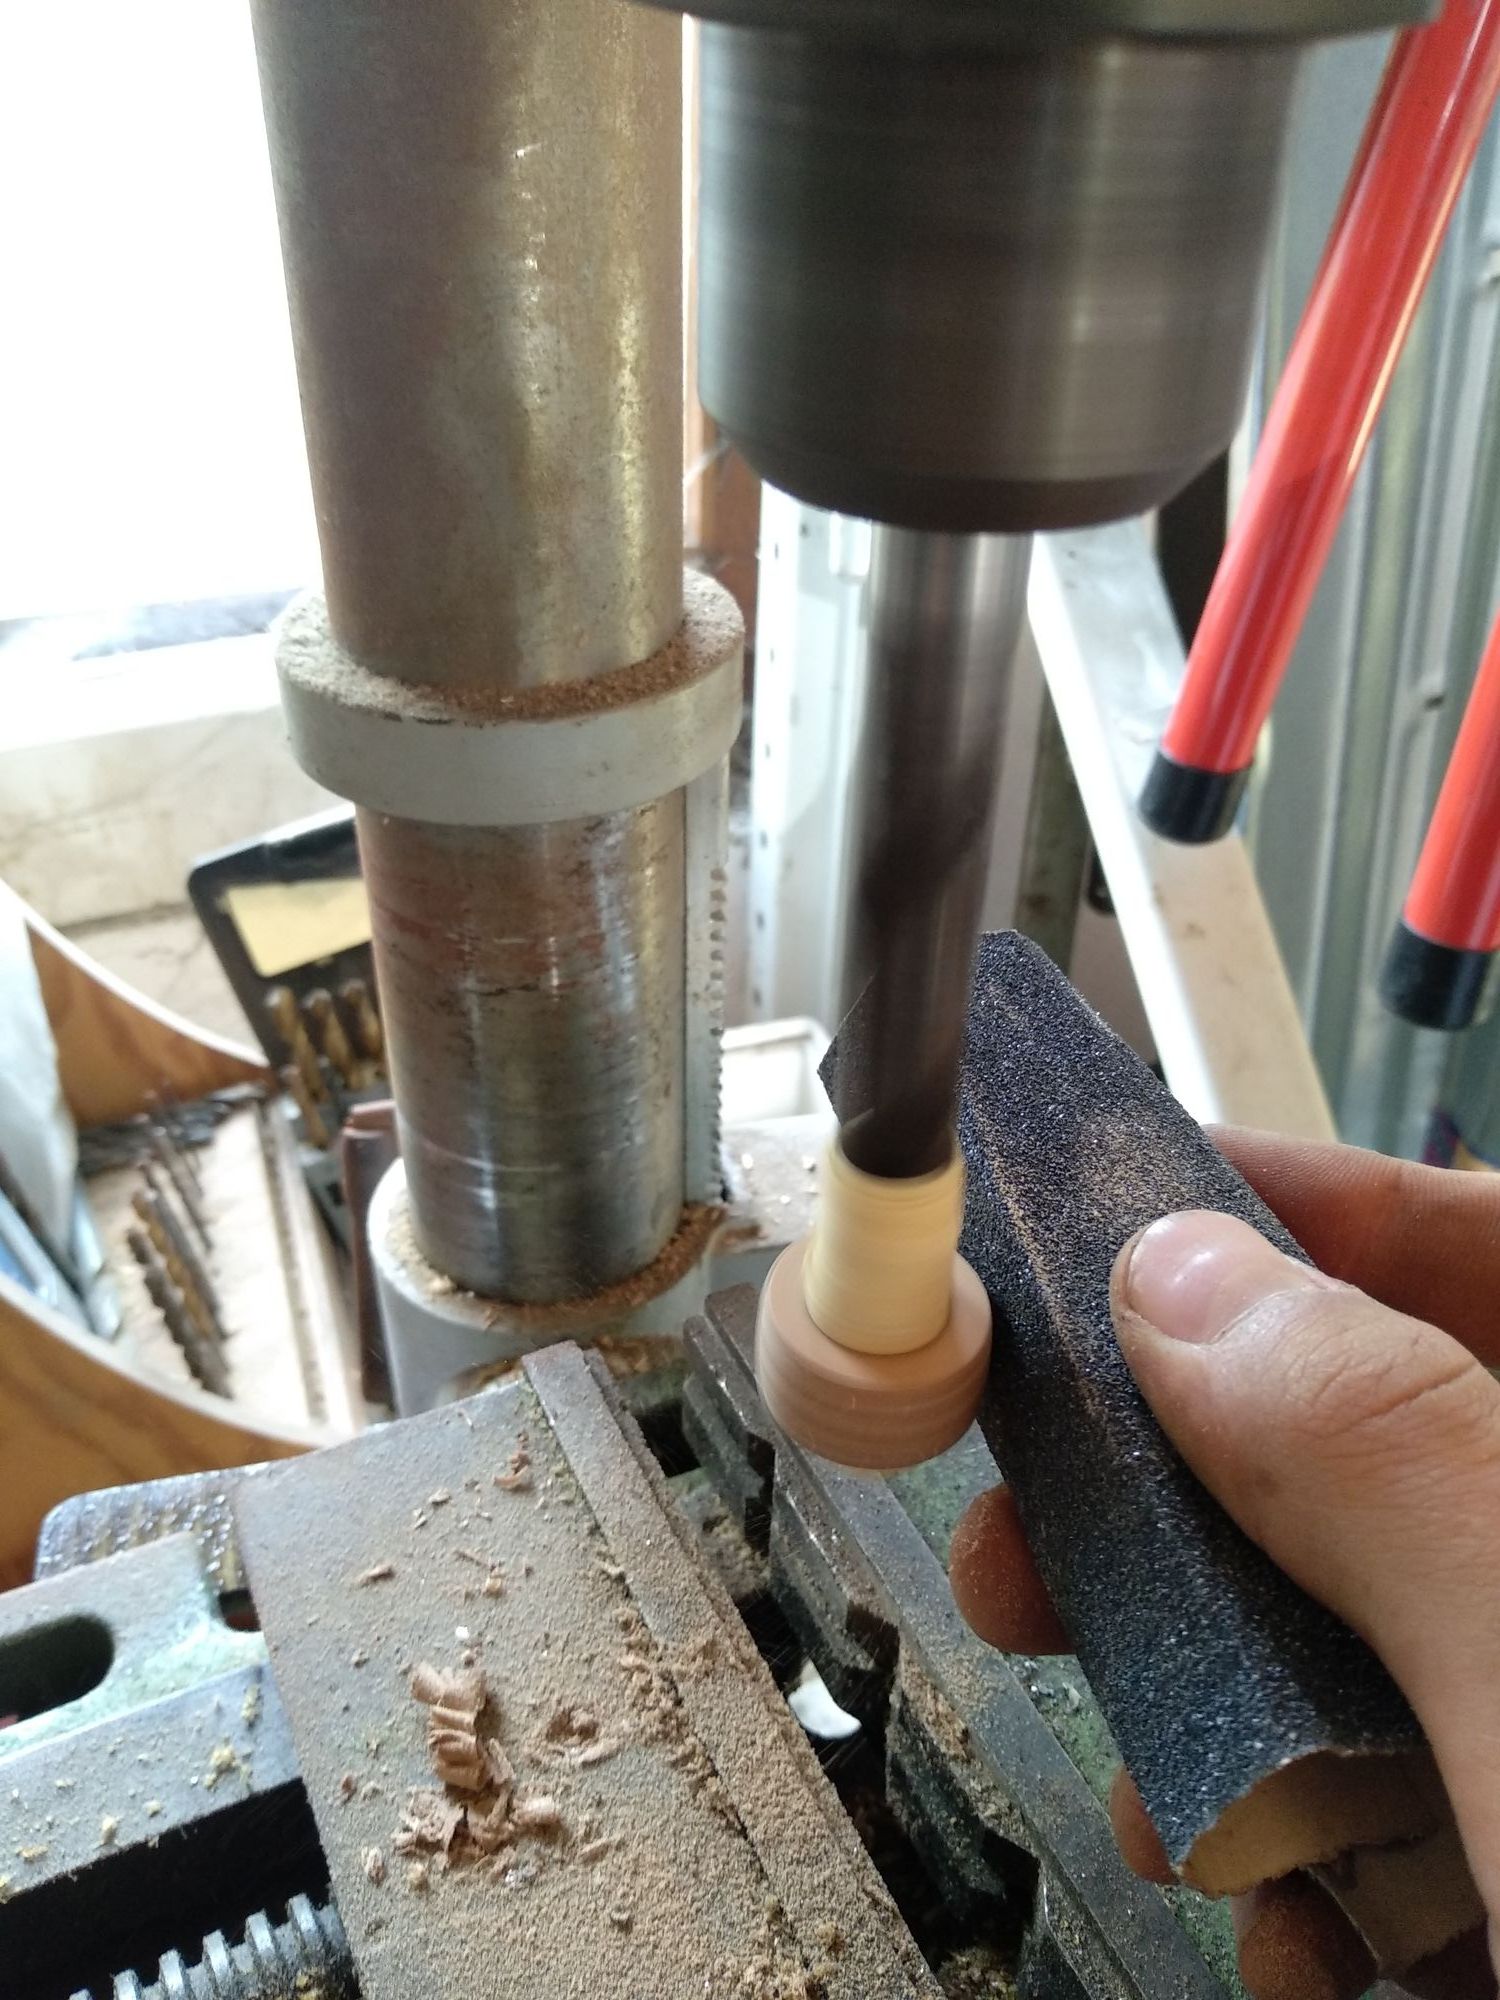
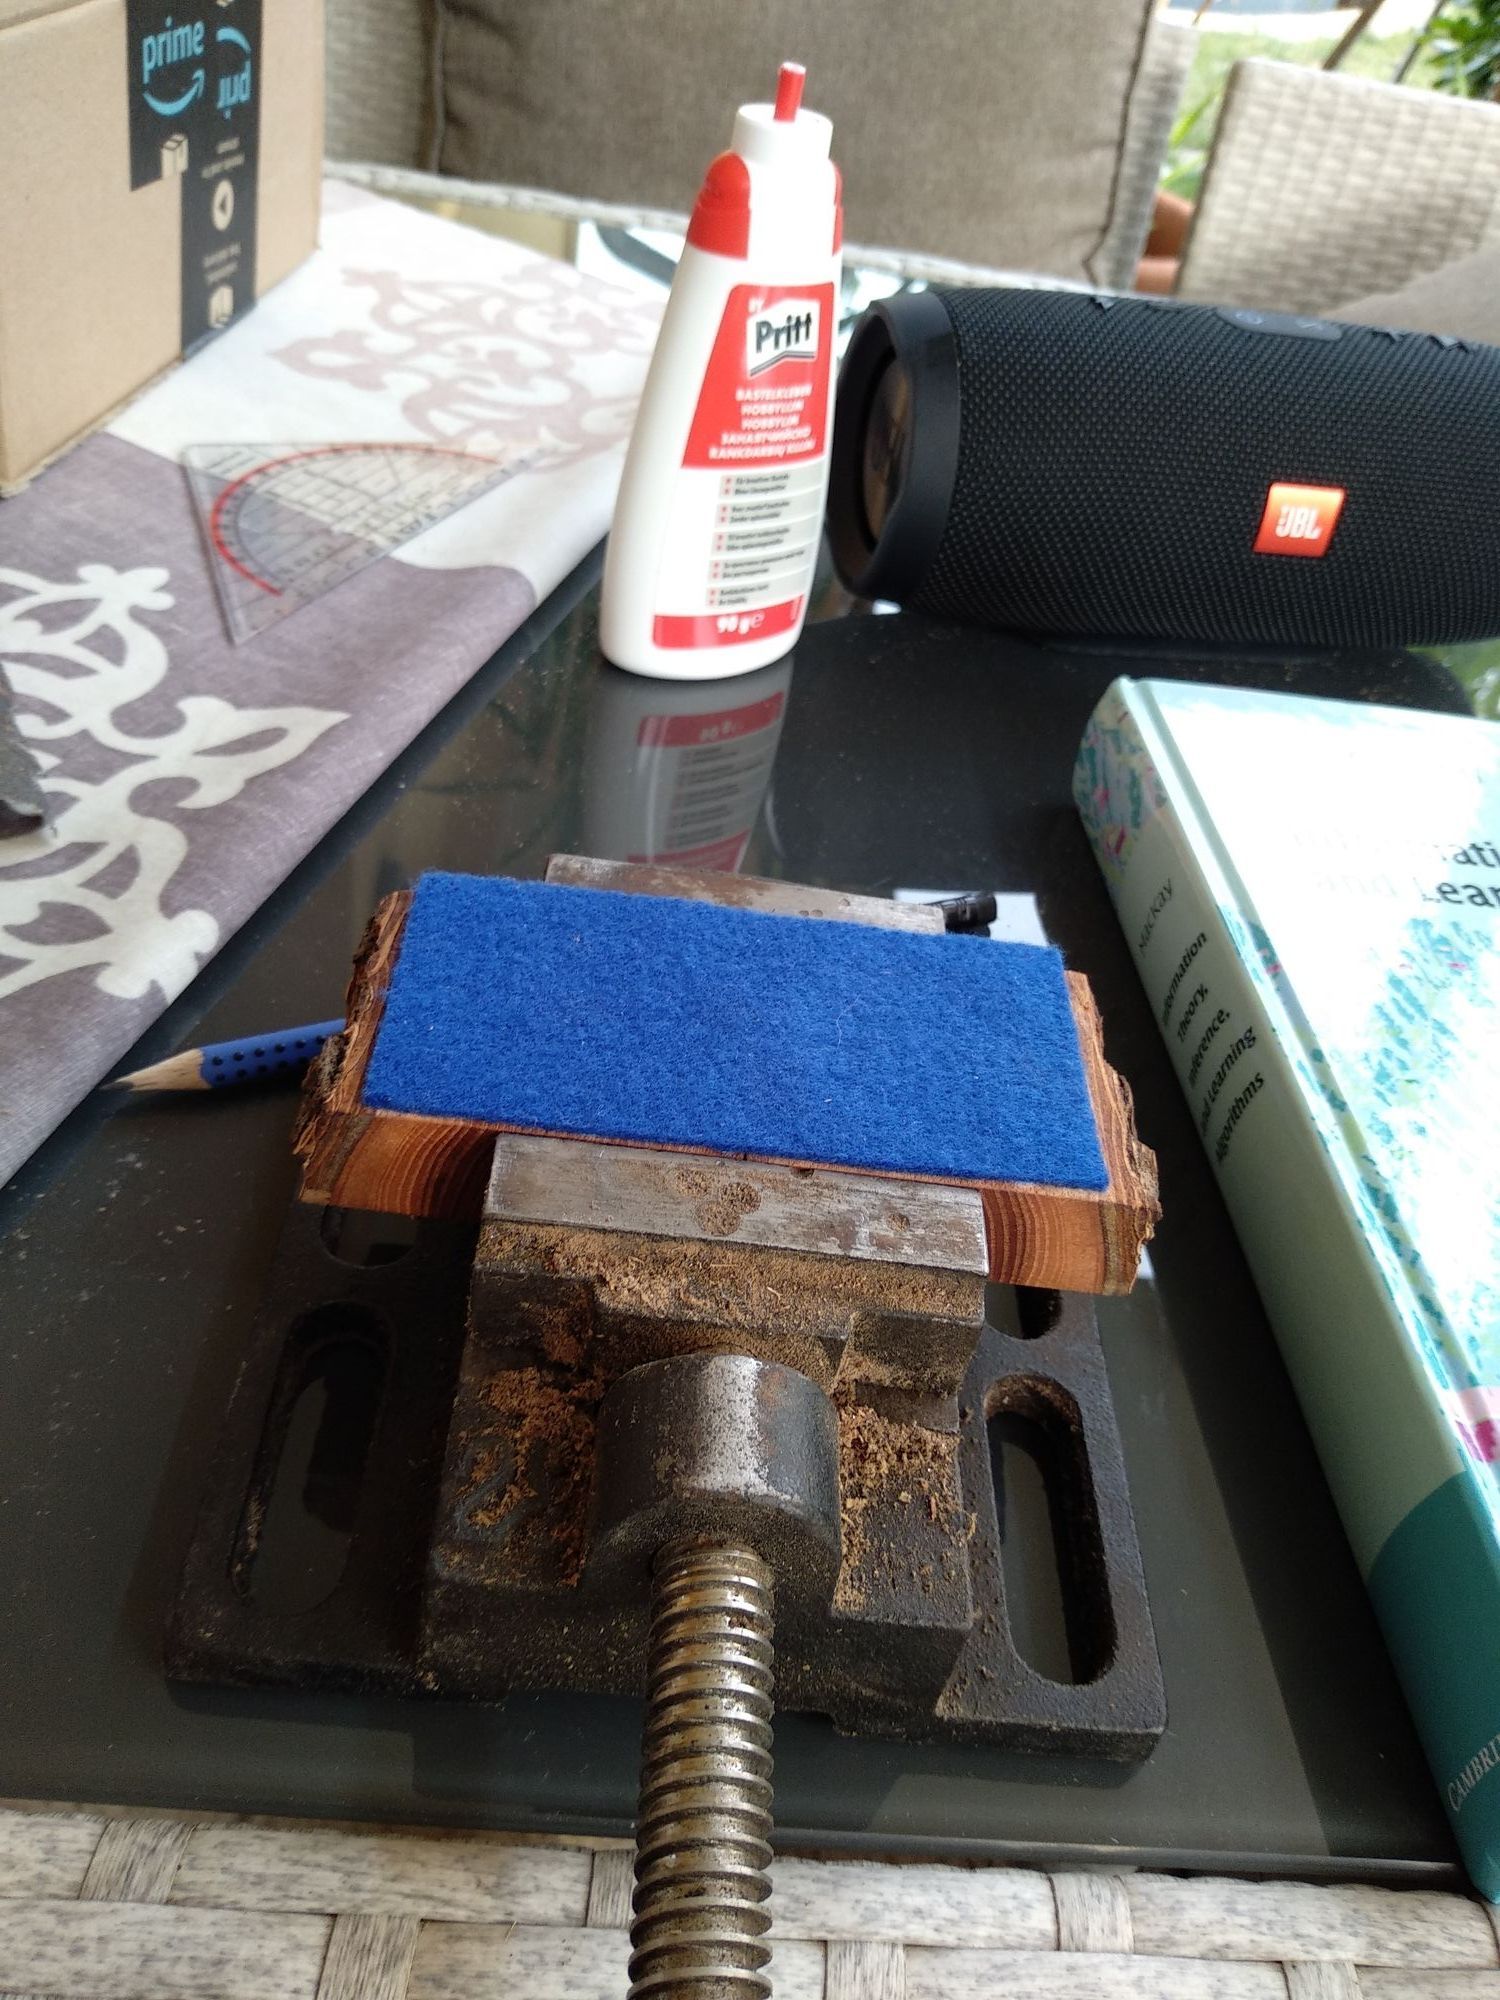
It’s still very squared, but at least you can kind of imagine it’s a ring now. I will use the setup shown above later to get the finishing grind on the ring: I used one big drill bit and wrapped some masking tape around it until the ring fits really snuggly. Then put the drill into the machine, spin it around and grind it down with sand paper.
By now the ring already has a circular shape. I used an electric hand grinder (used to work on walls etc.) to get rid of the more pronounced corners. This process takes a ton of patience and good will.

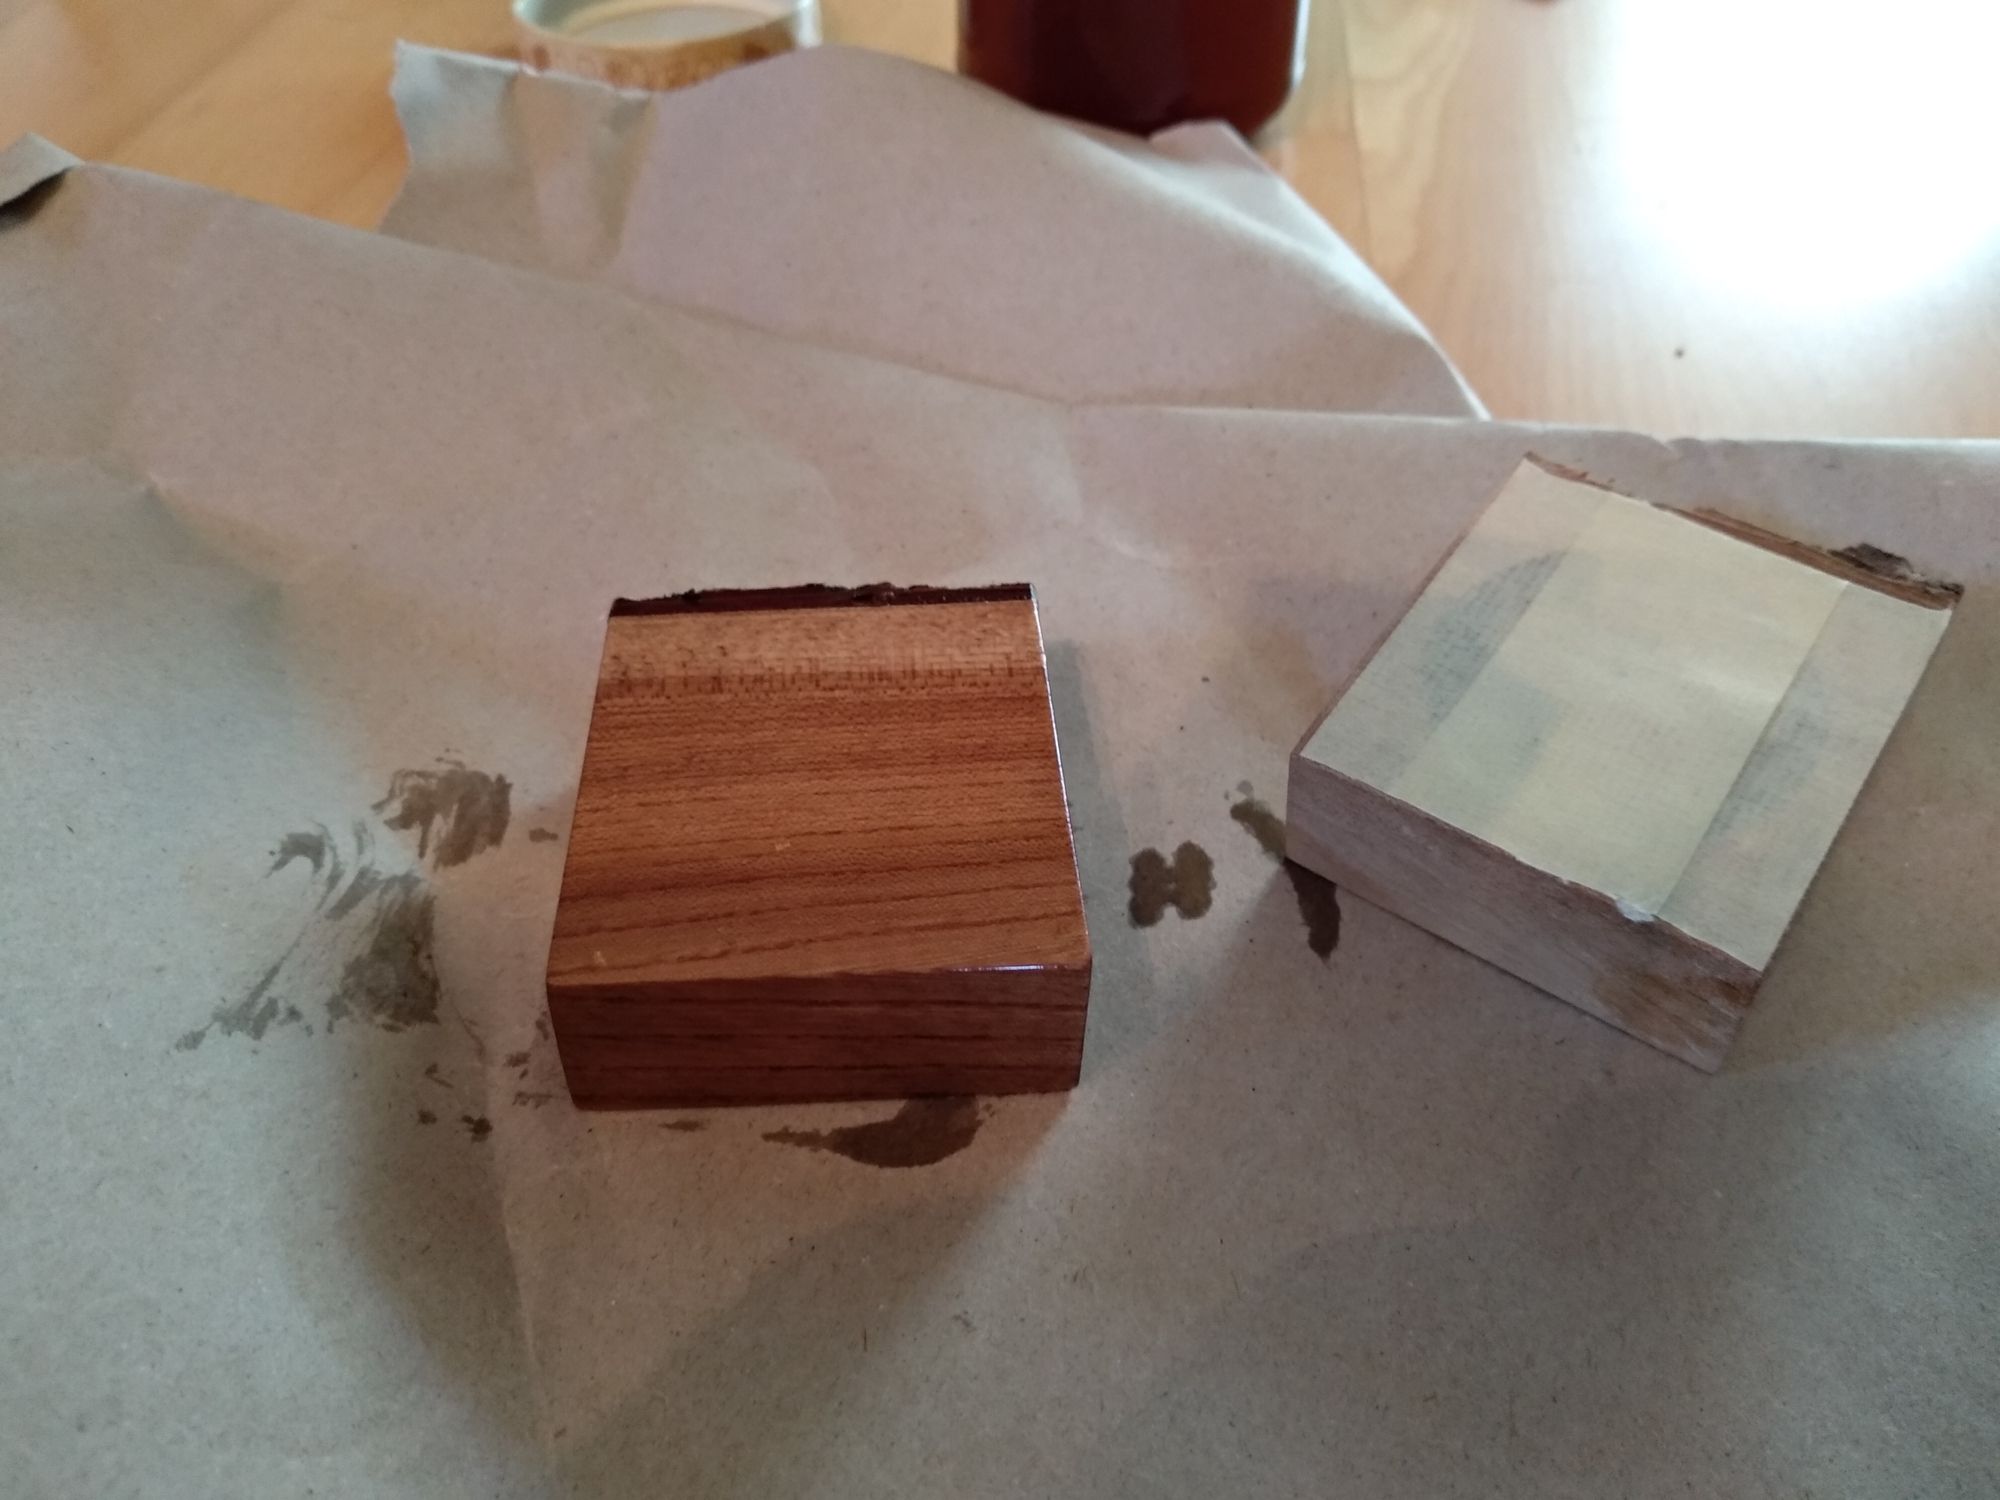
But once I arrived at this stage I knew the effort was worth it. After using the abrasive sand paper (80) to get the shape, I switched to finer ones (600 and then 2000). That’s why the ring looks a bit dull: it’s covered in very fine dust.
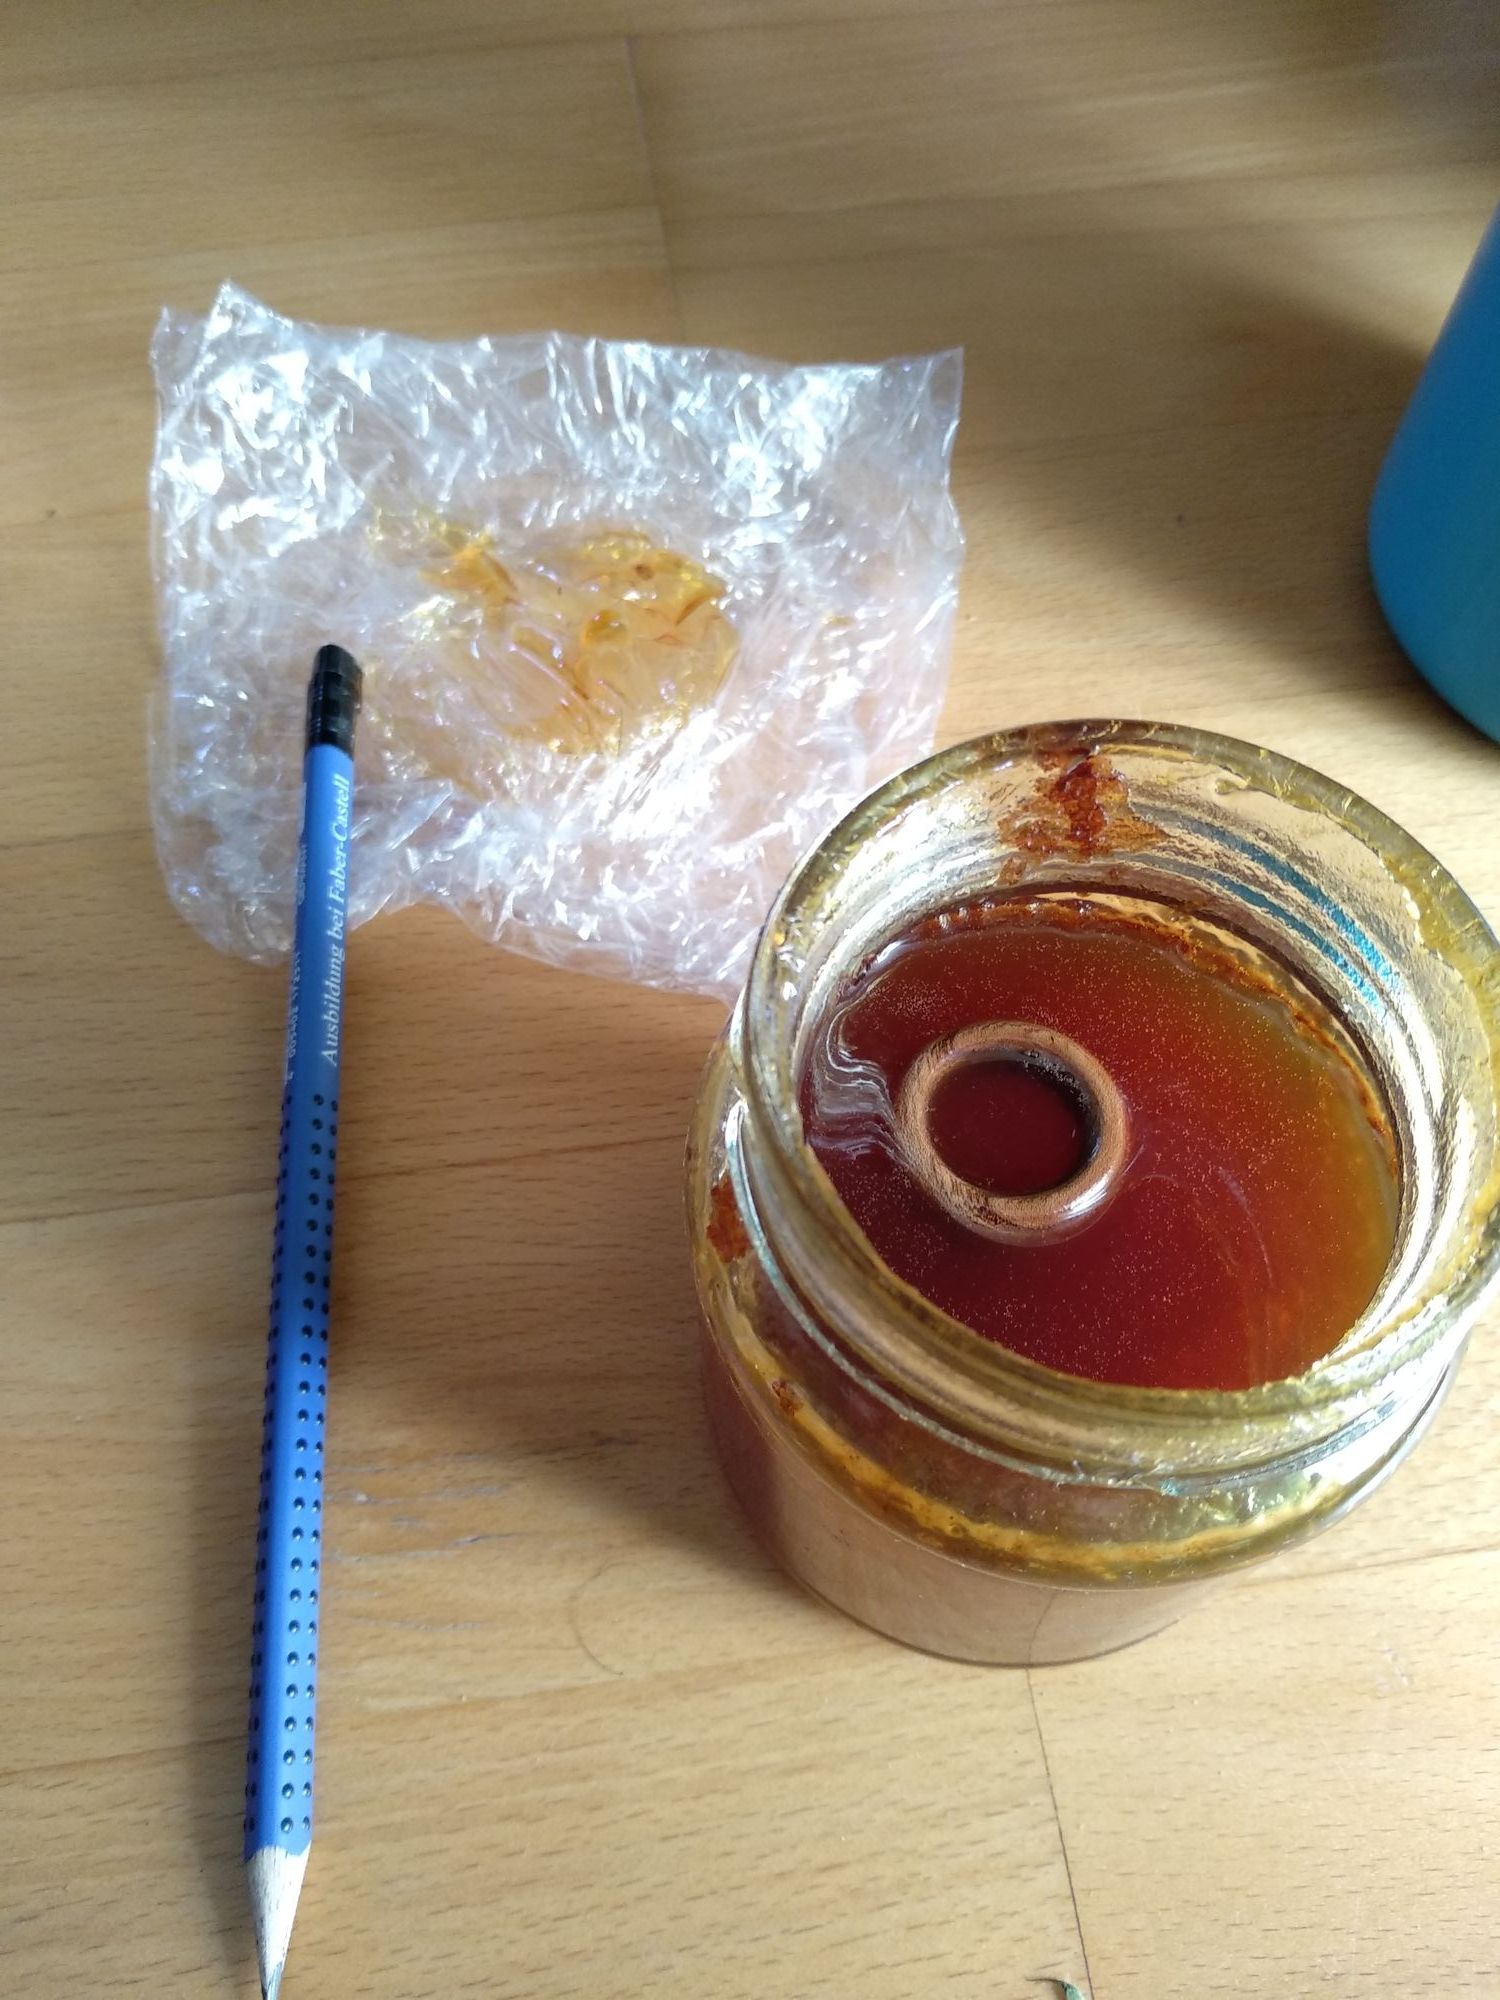
After doing the fine sanding and cleaning the ring (with a clean cloth), I put it into wood oil for half an hour and let it dry for a day. The woods soaks up the oil which pronounces the color and also protects the wood from fingerprints and humidity. I chose oil instead of clearcoat because while theoretically the clear coat protects the wood from any water (i.e. it’s sealed), an object like a ring is easily banged against some other hard object. Then the clearcoat breaks (i.e. gets little cracks) and water can penetrate the wood. Once that happens the wood will become pale. This is not an issue with oil, since you can always just reapply the oil.
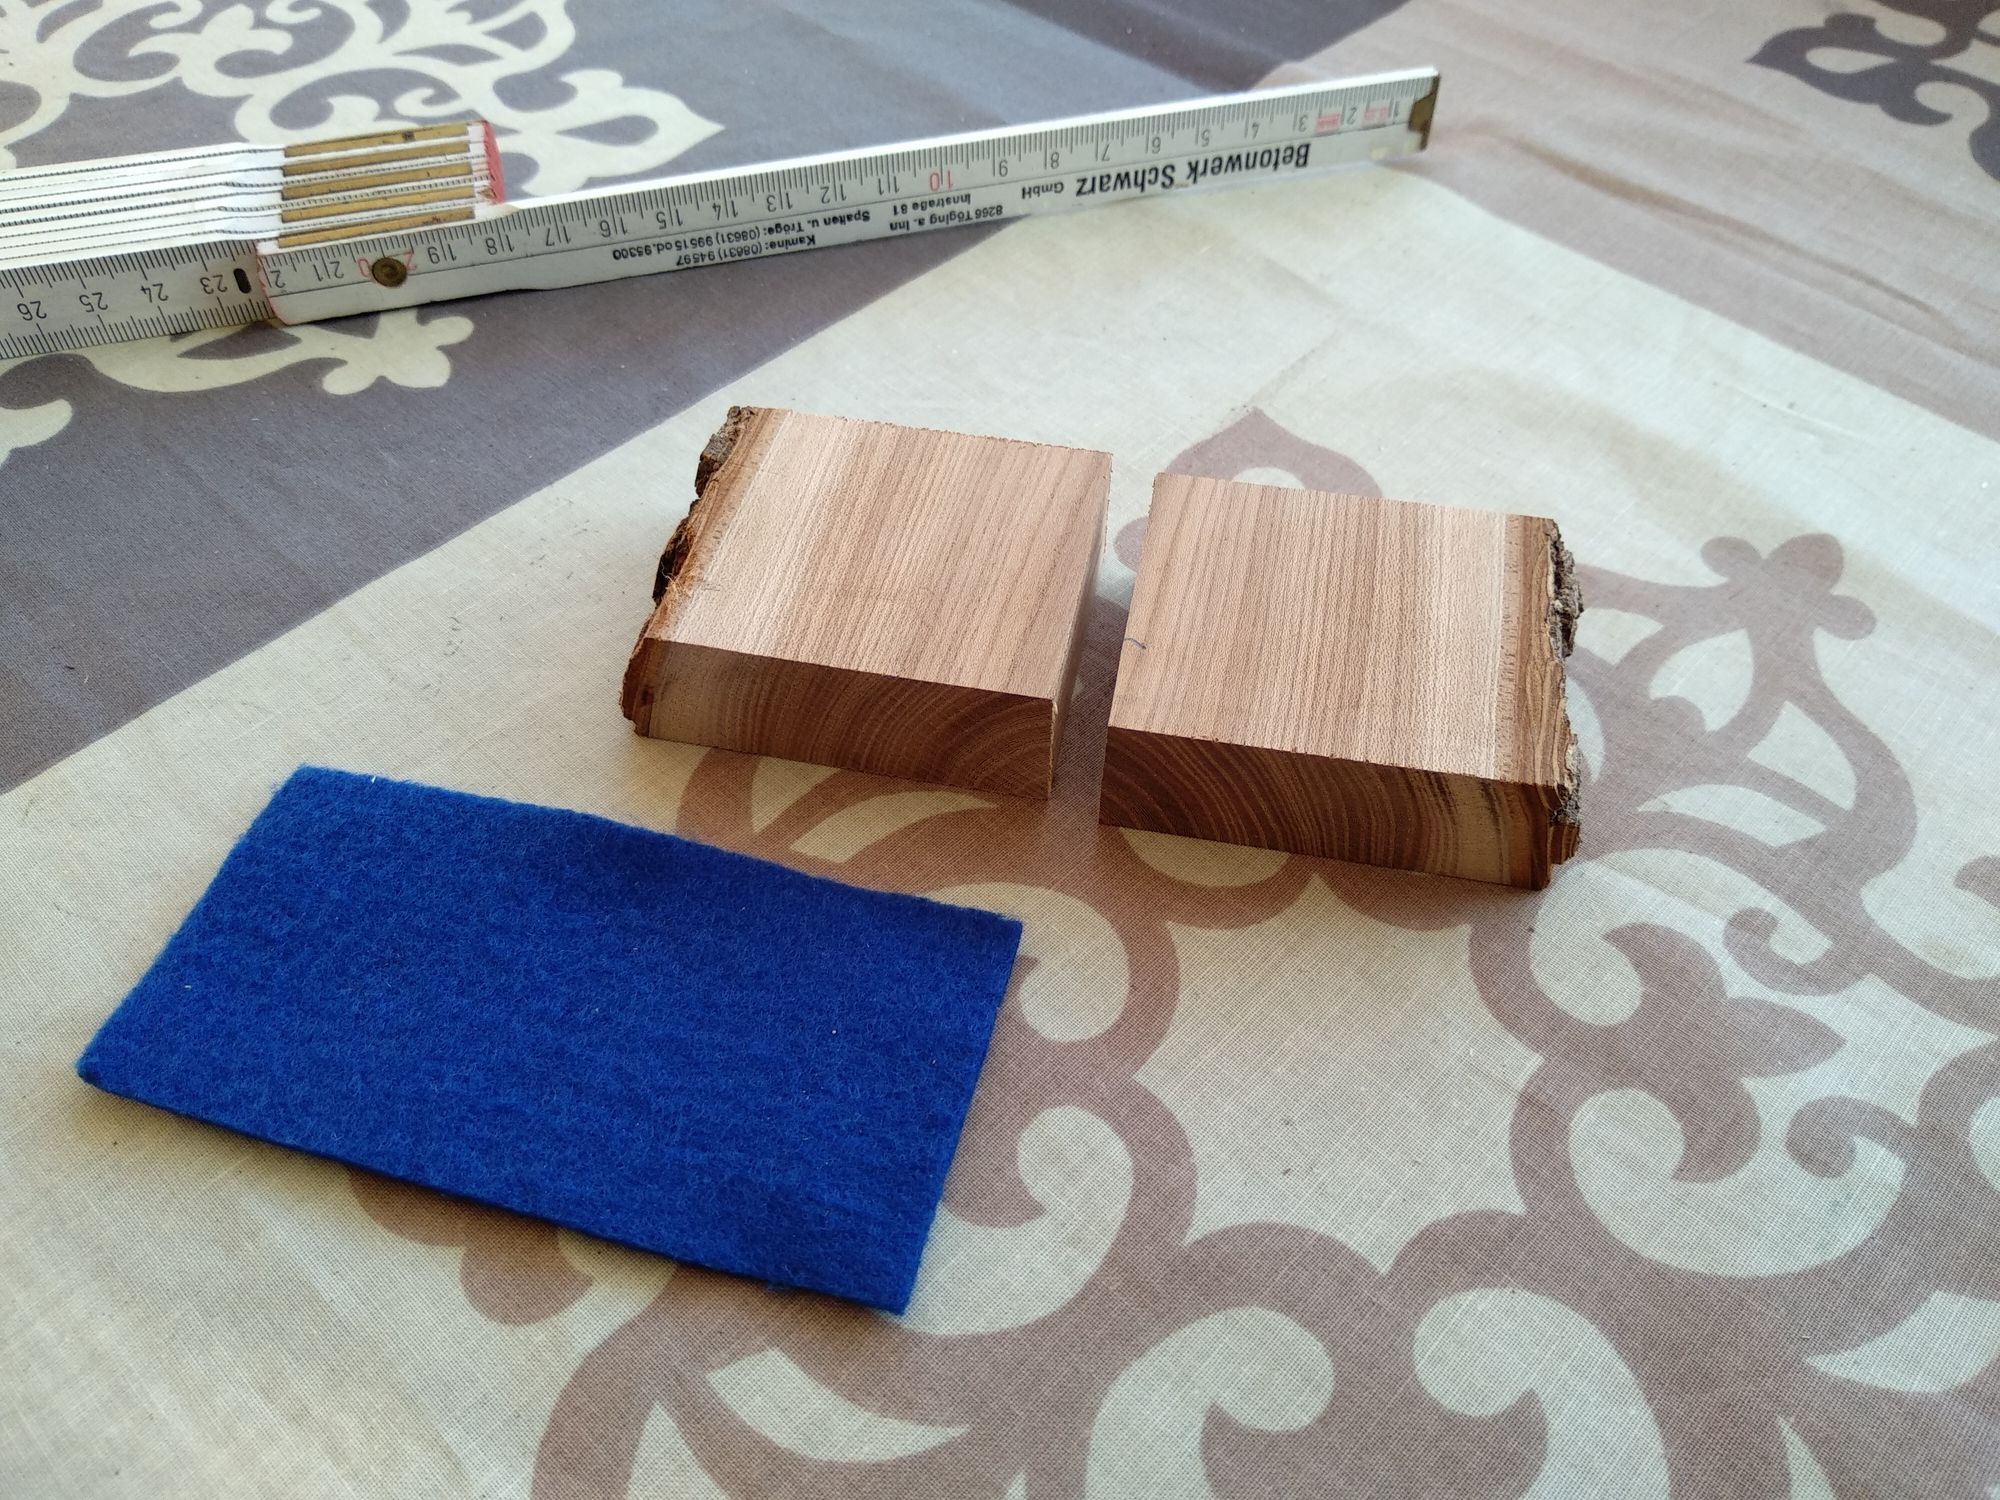
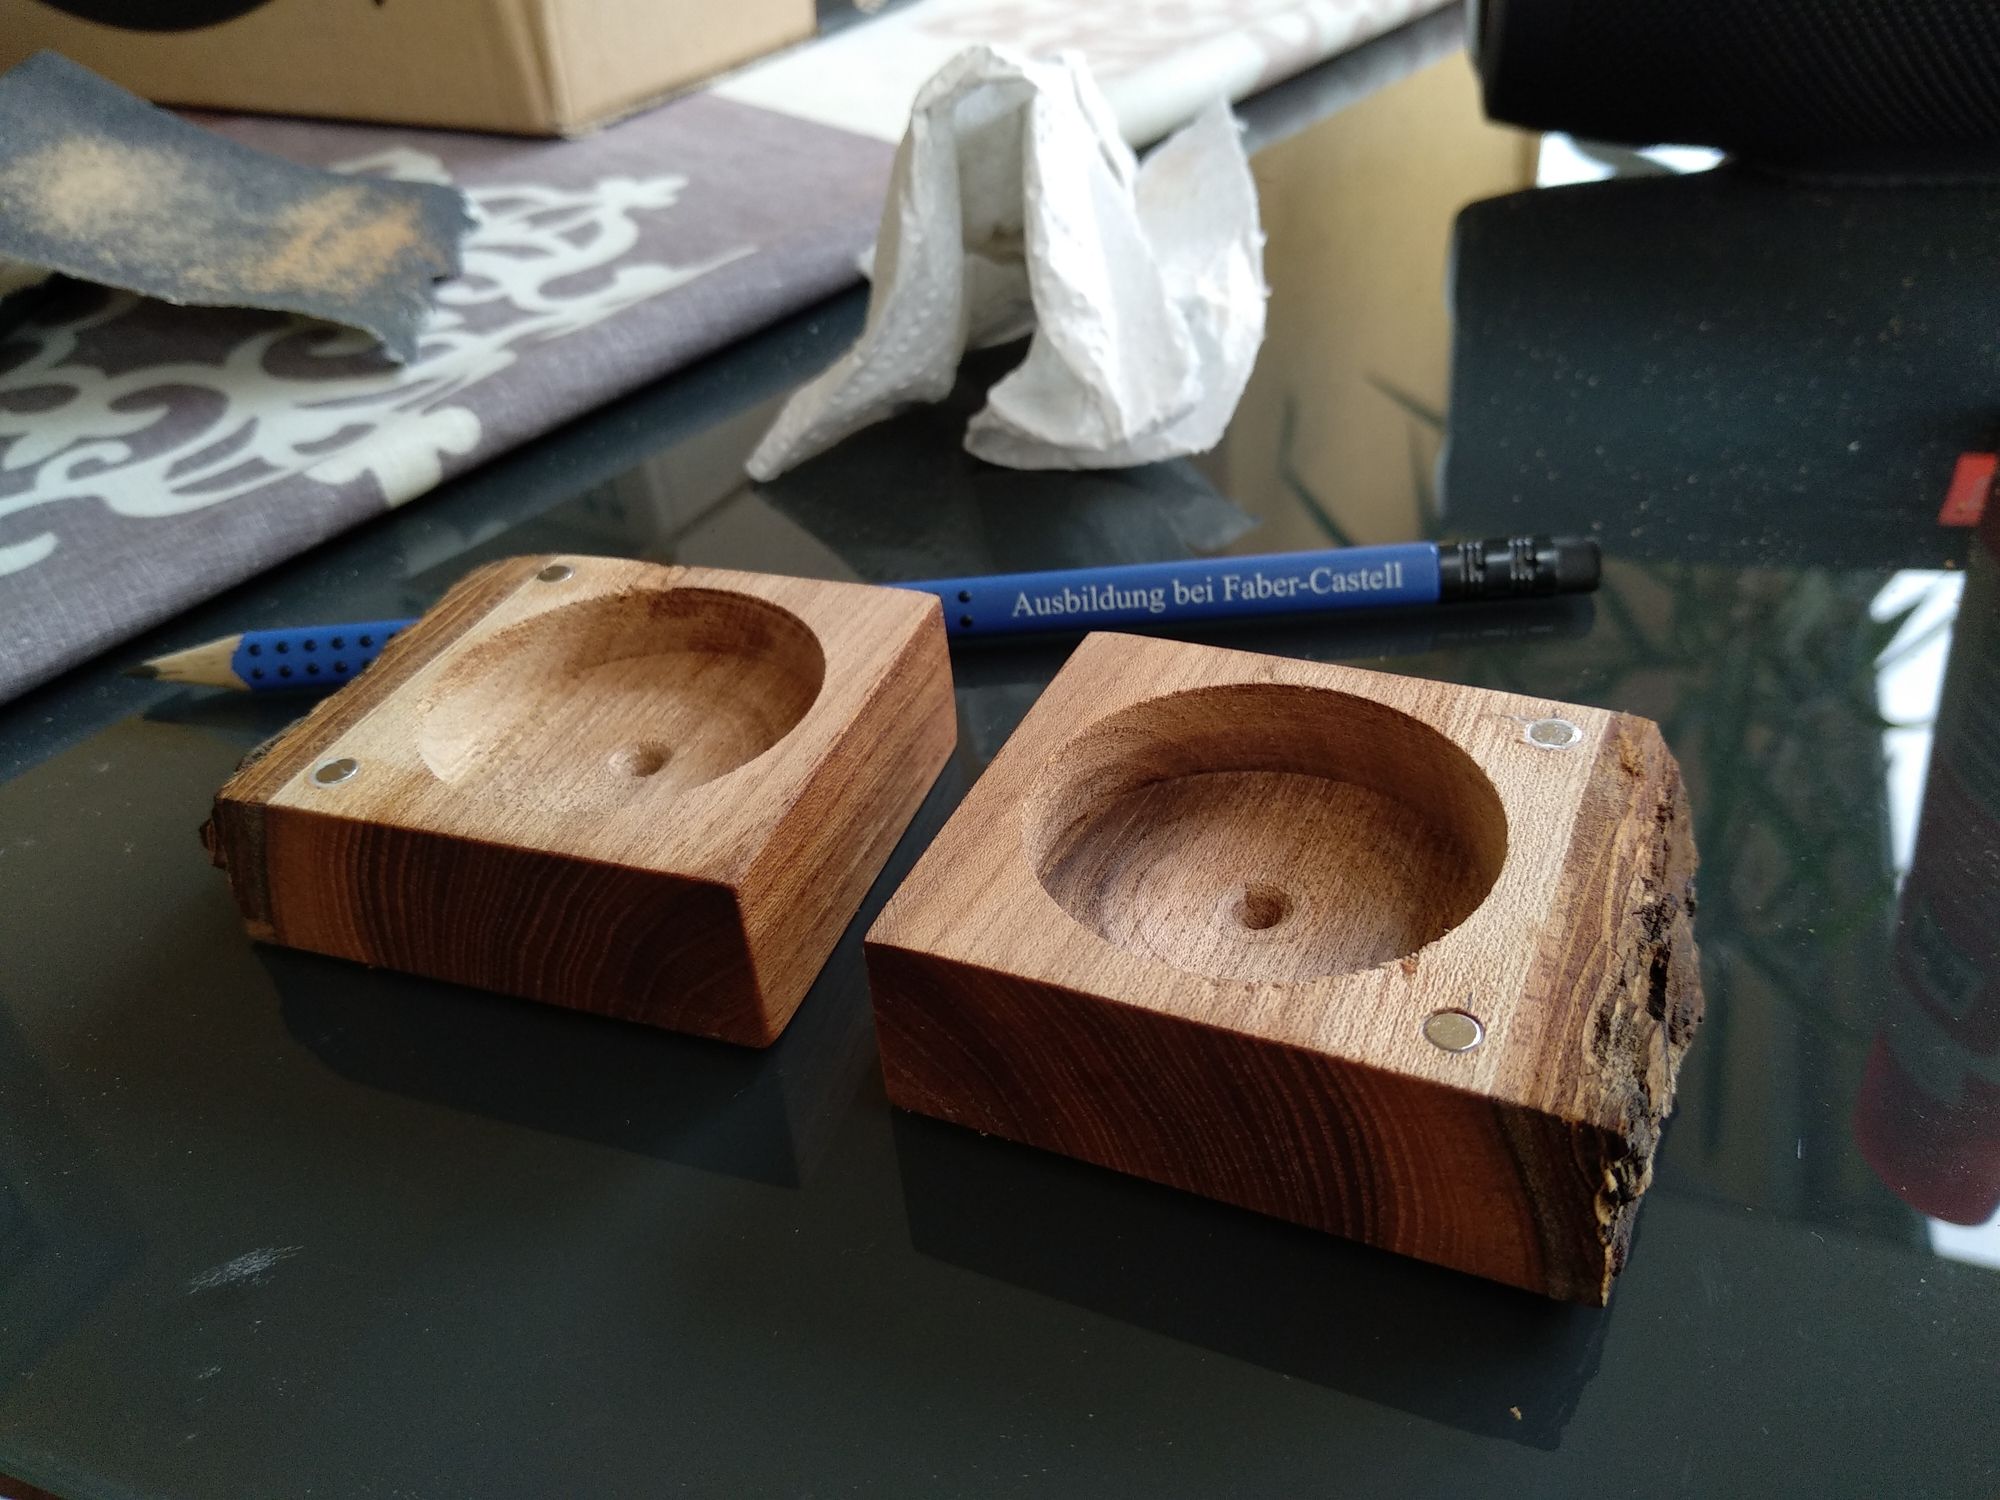
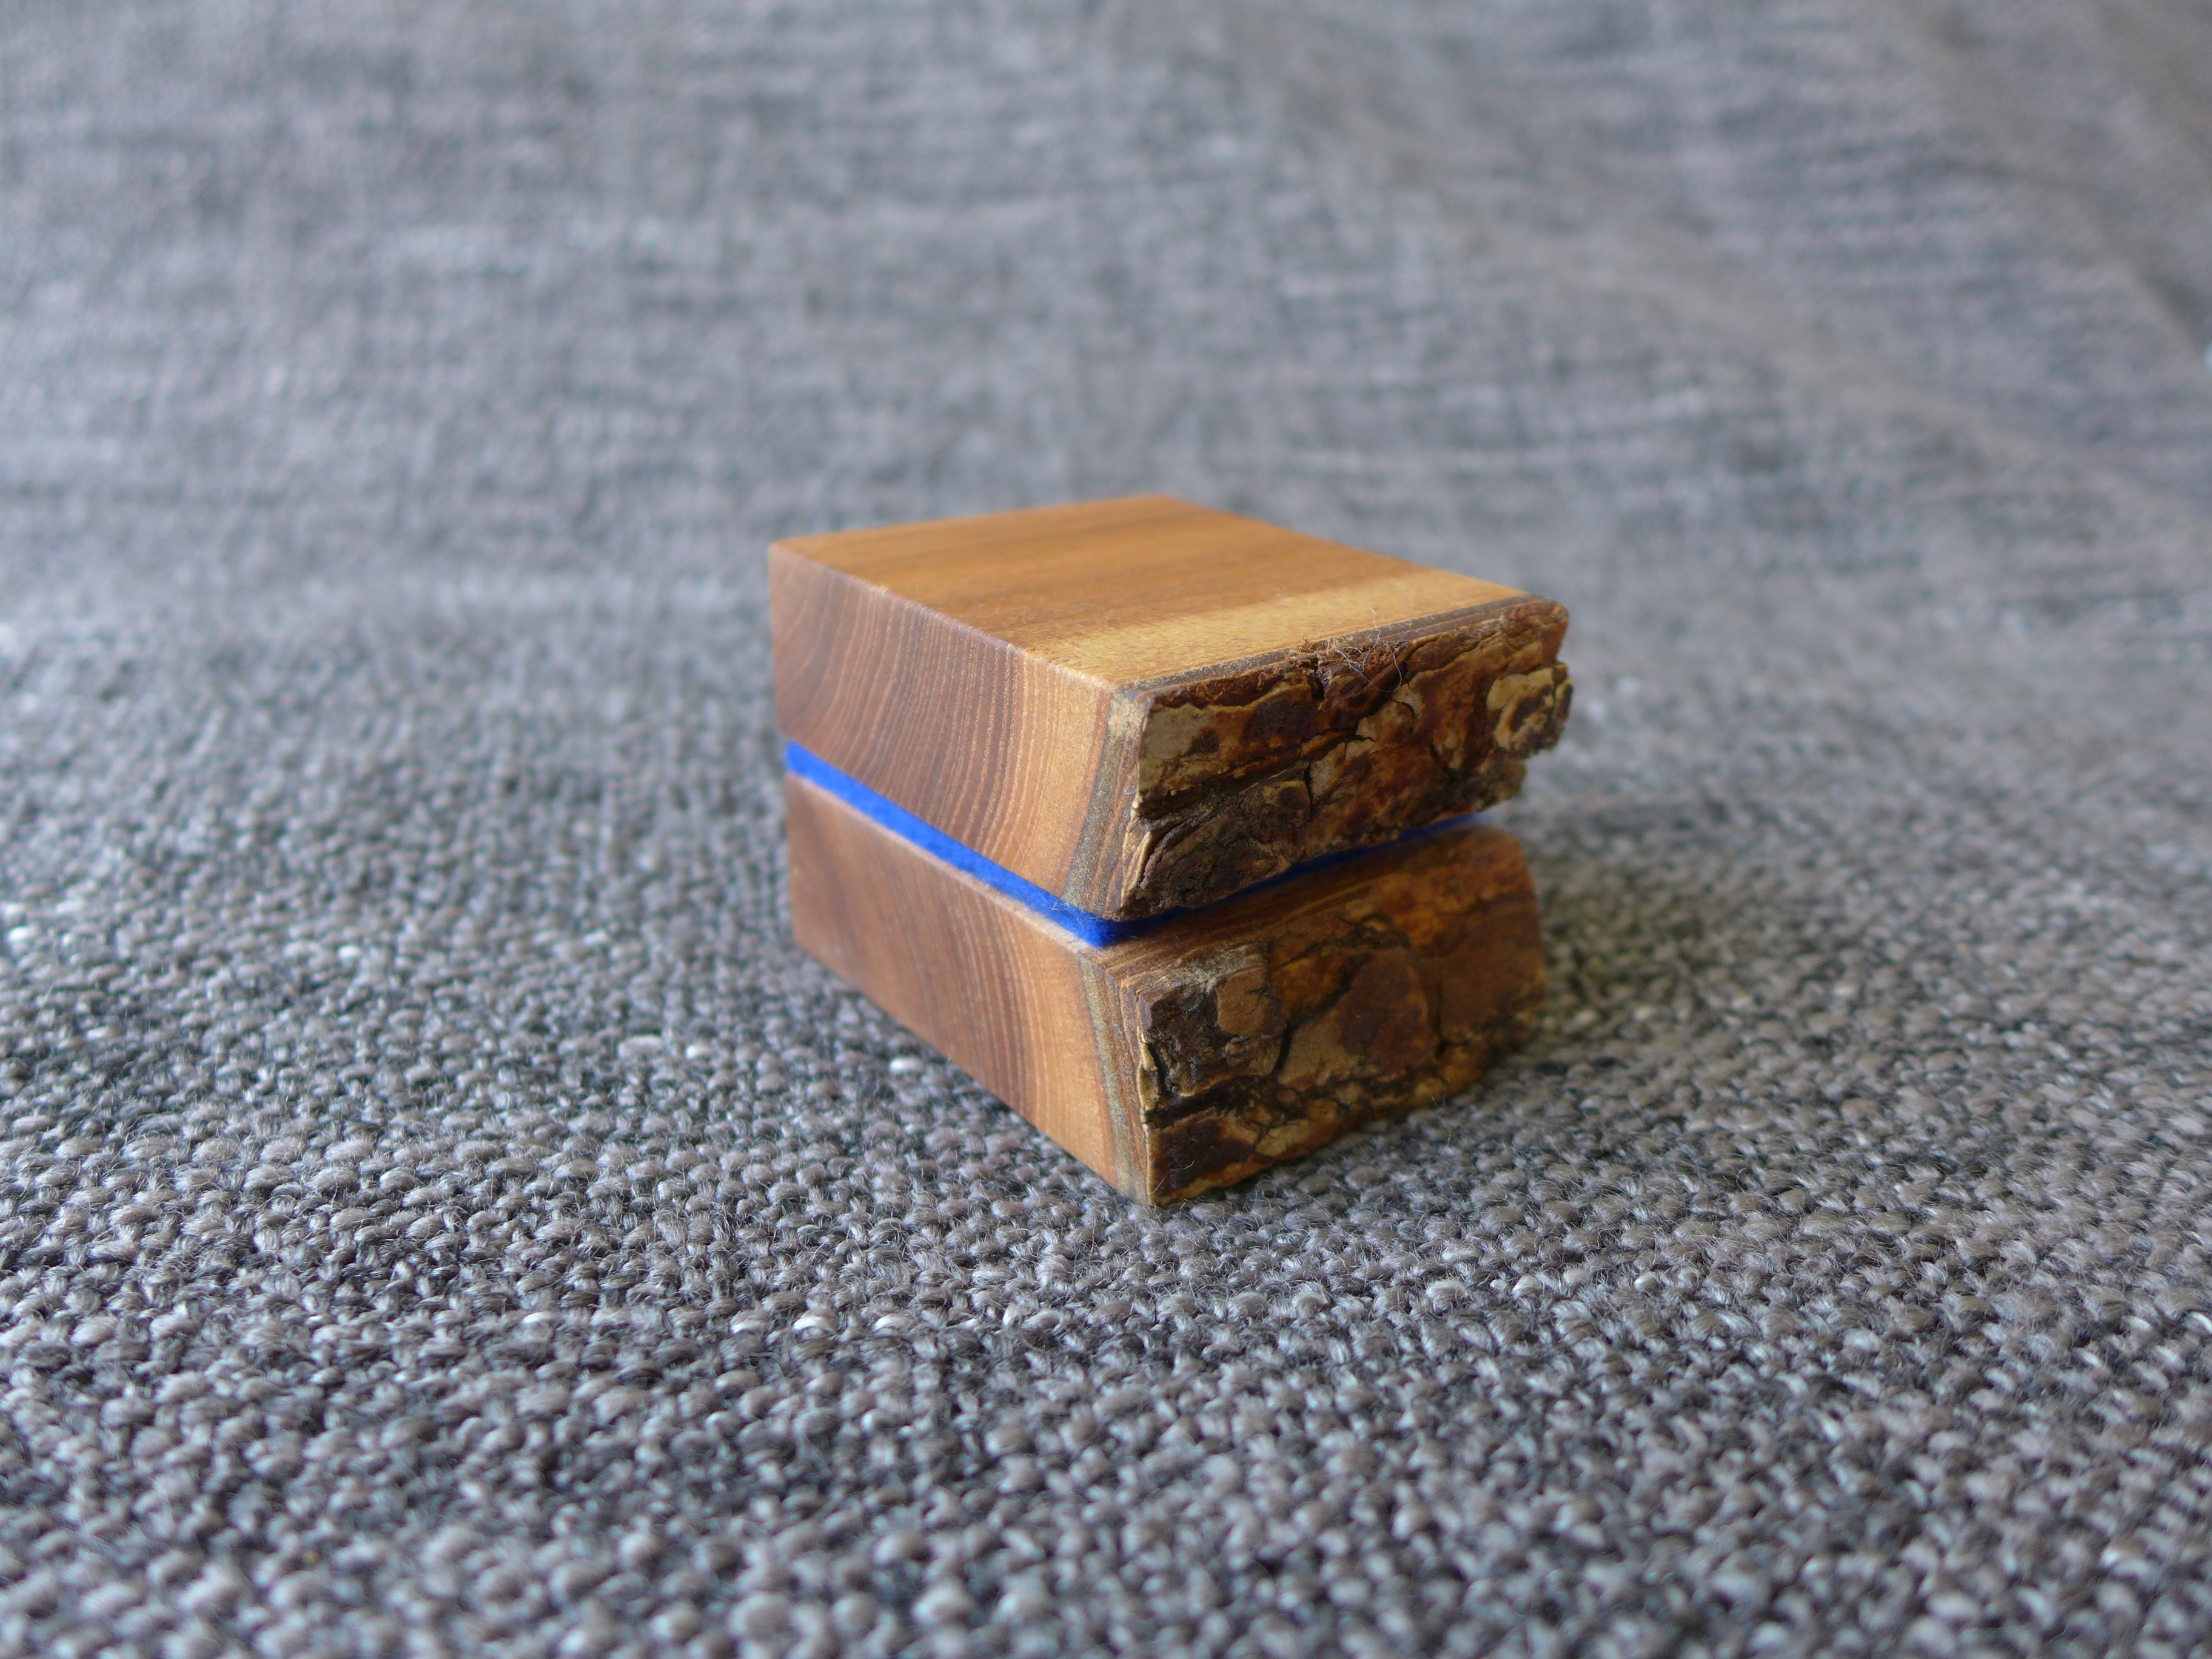
Next I worked on the box. For this purpose, I cut out two more pieces (5cm x 5cm) from the wood. I left the bark intact because I think it nicely adds to the look. In this picture you can also see the awesome grain of the tree. I will glue the blue felt in the foreground onto both of the wood pieces to use it as a hinge.
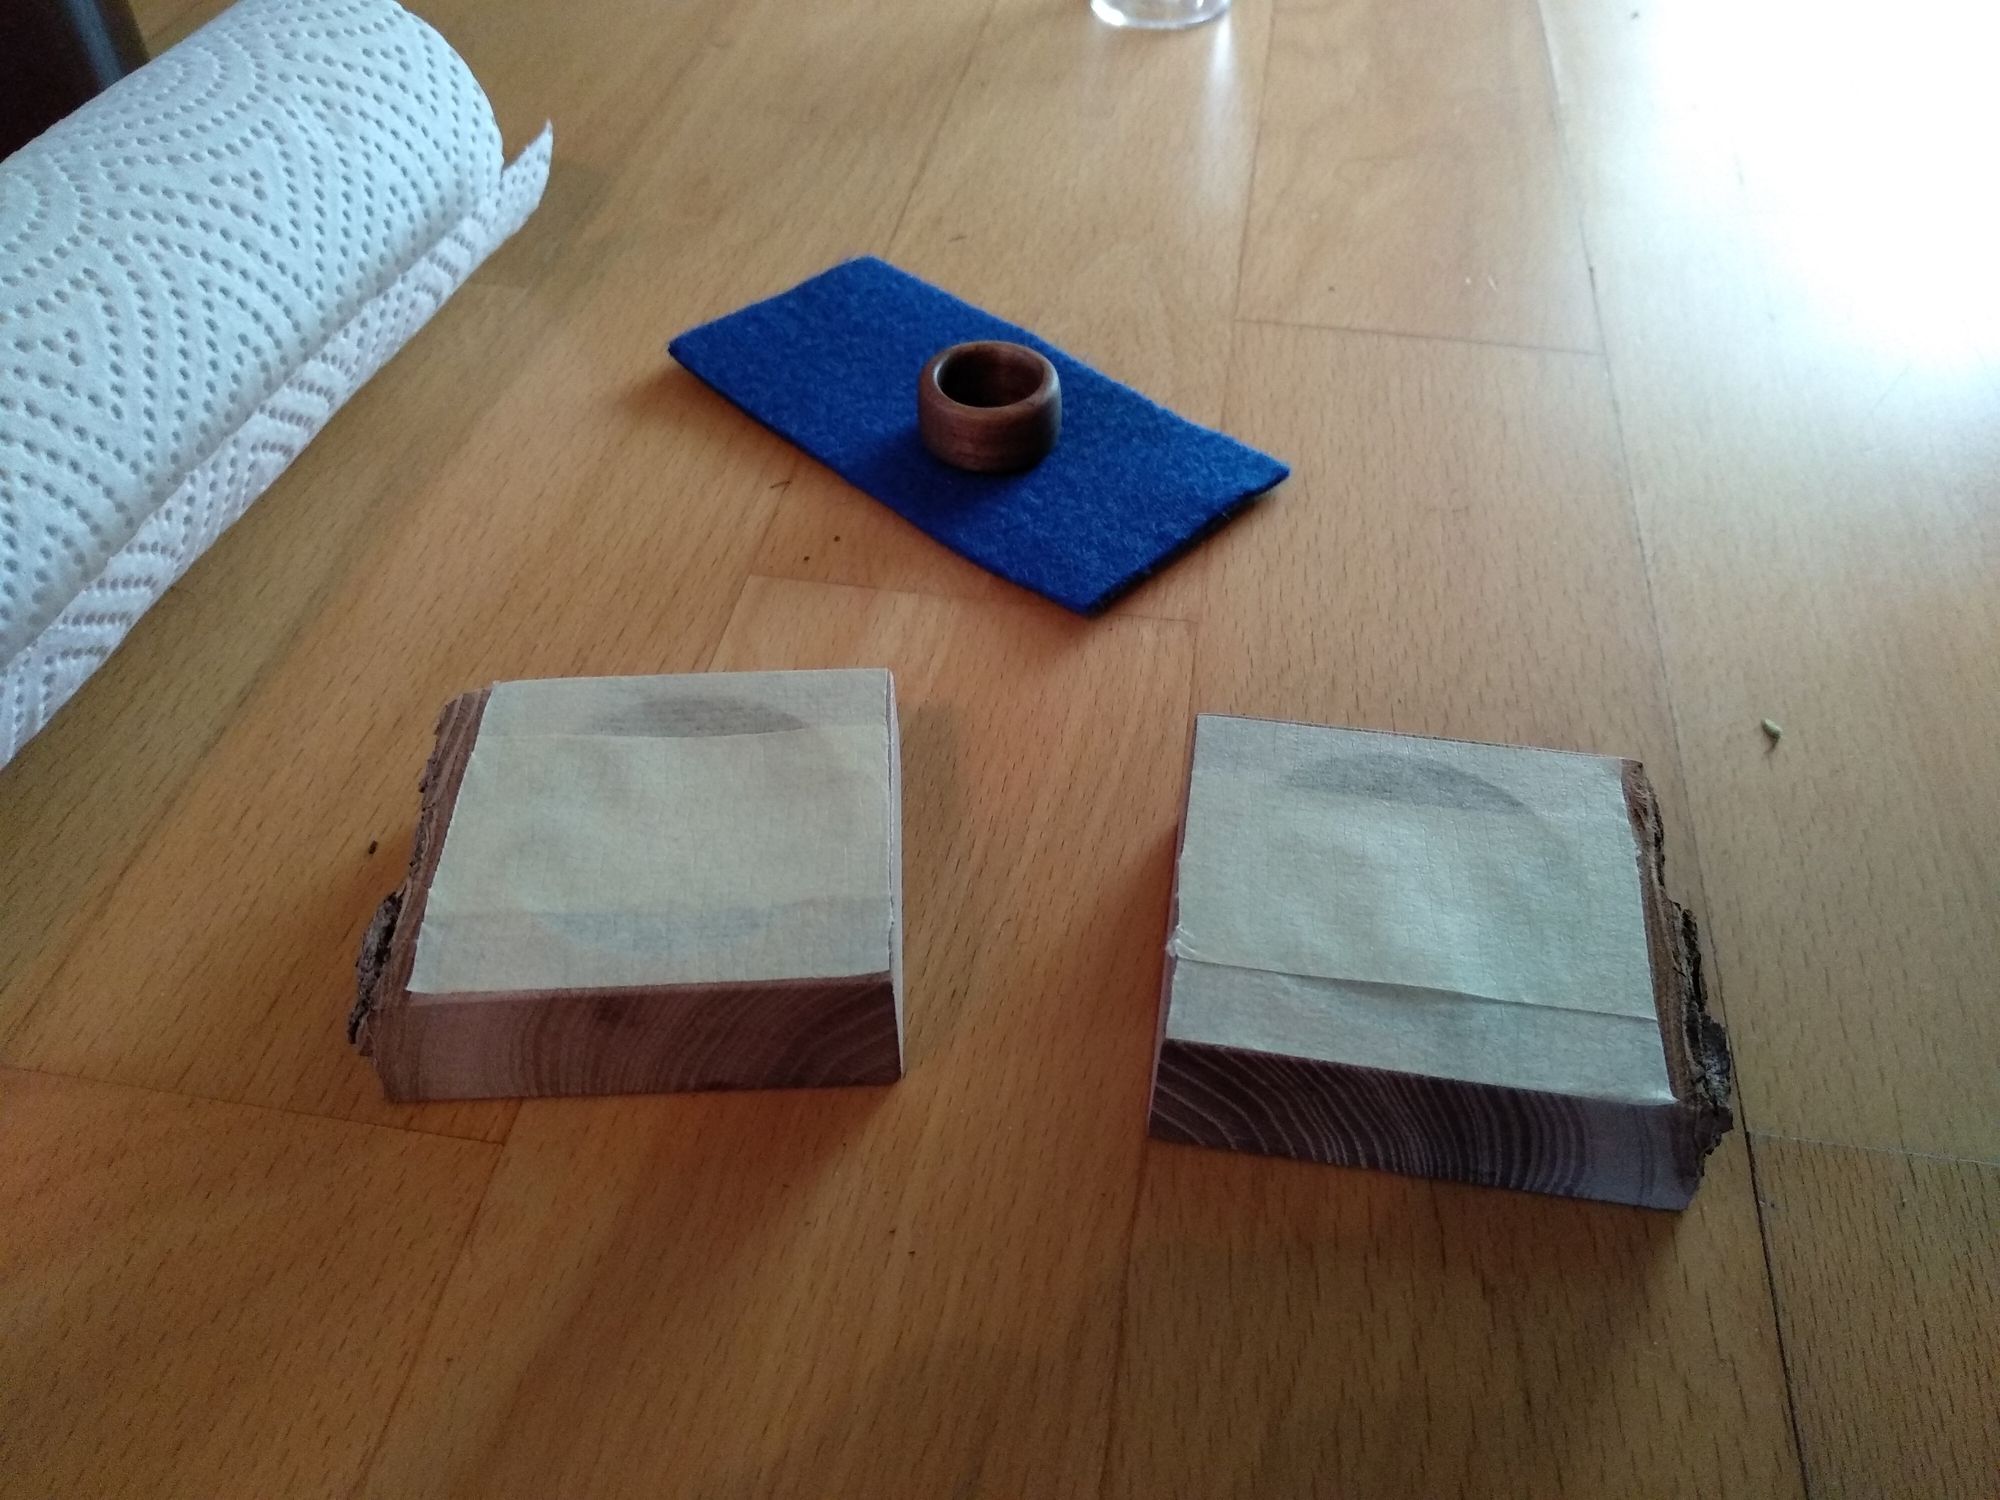
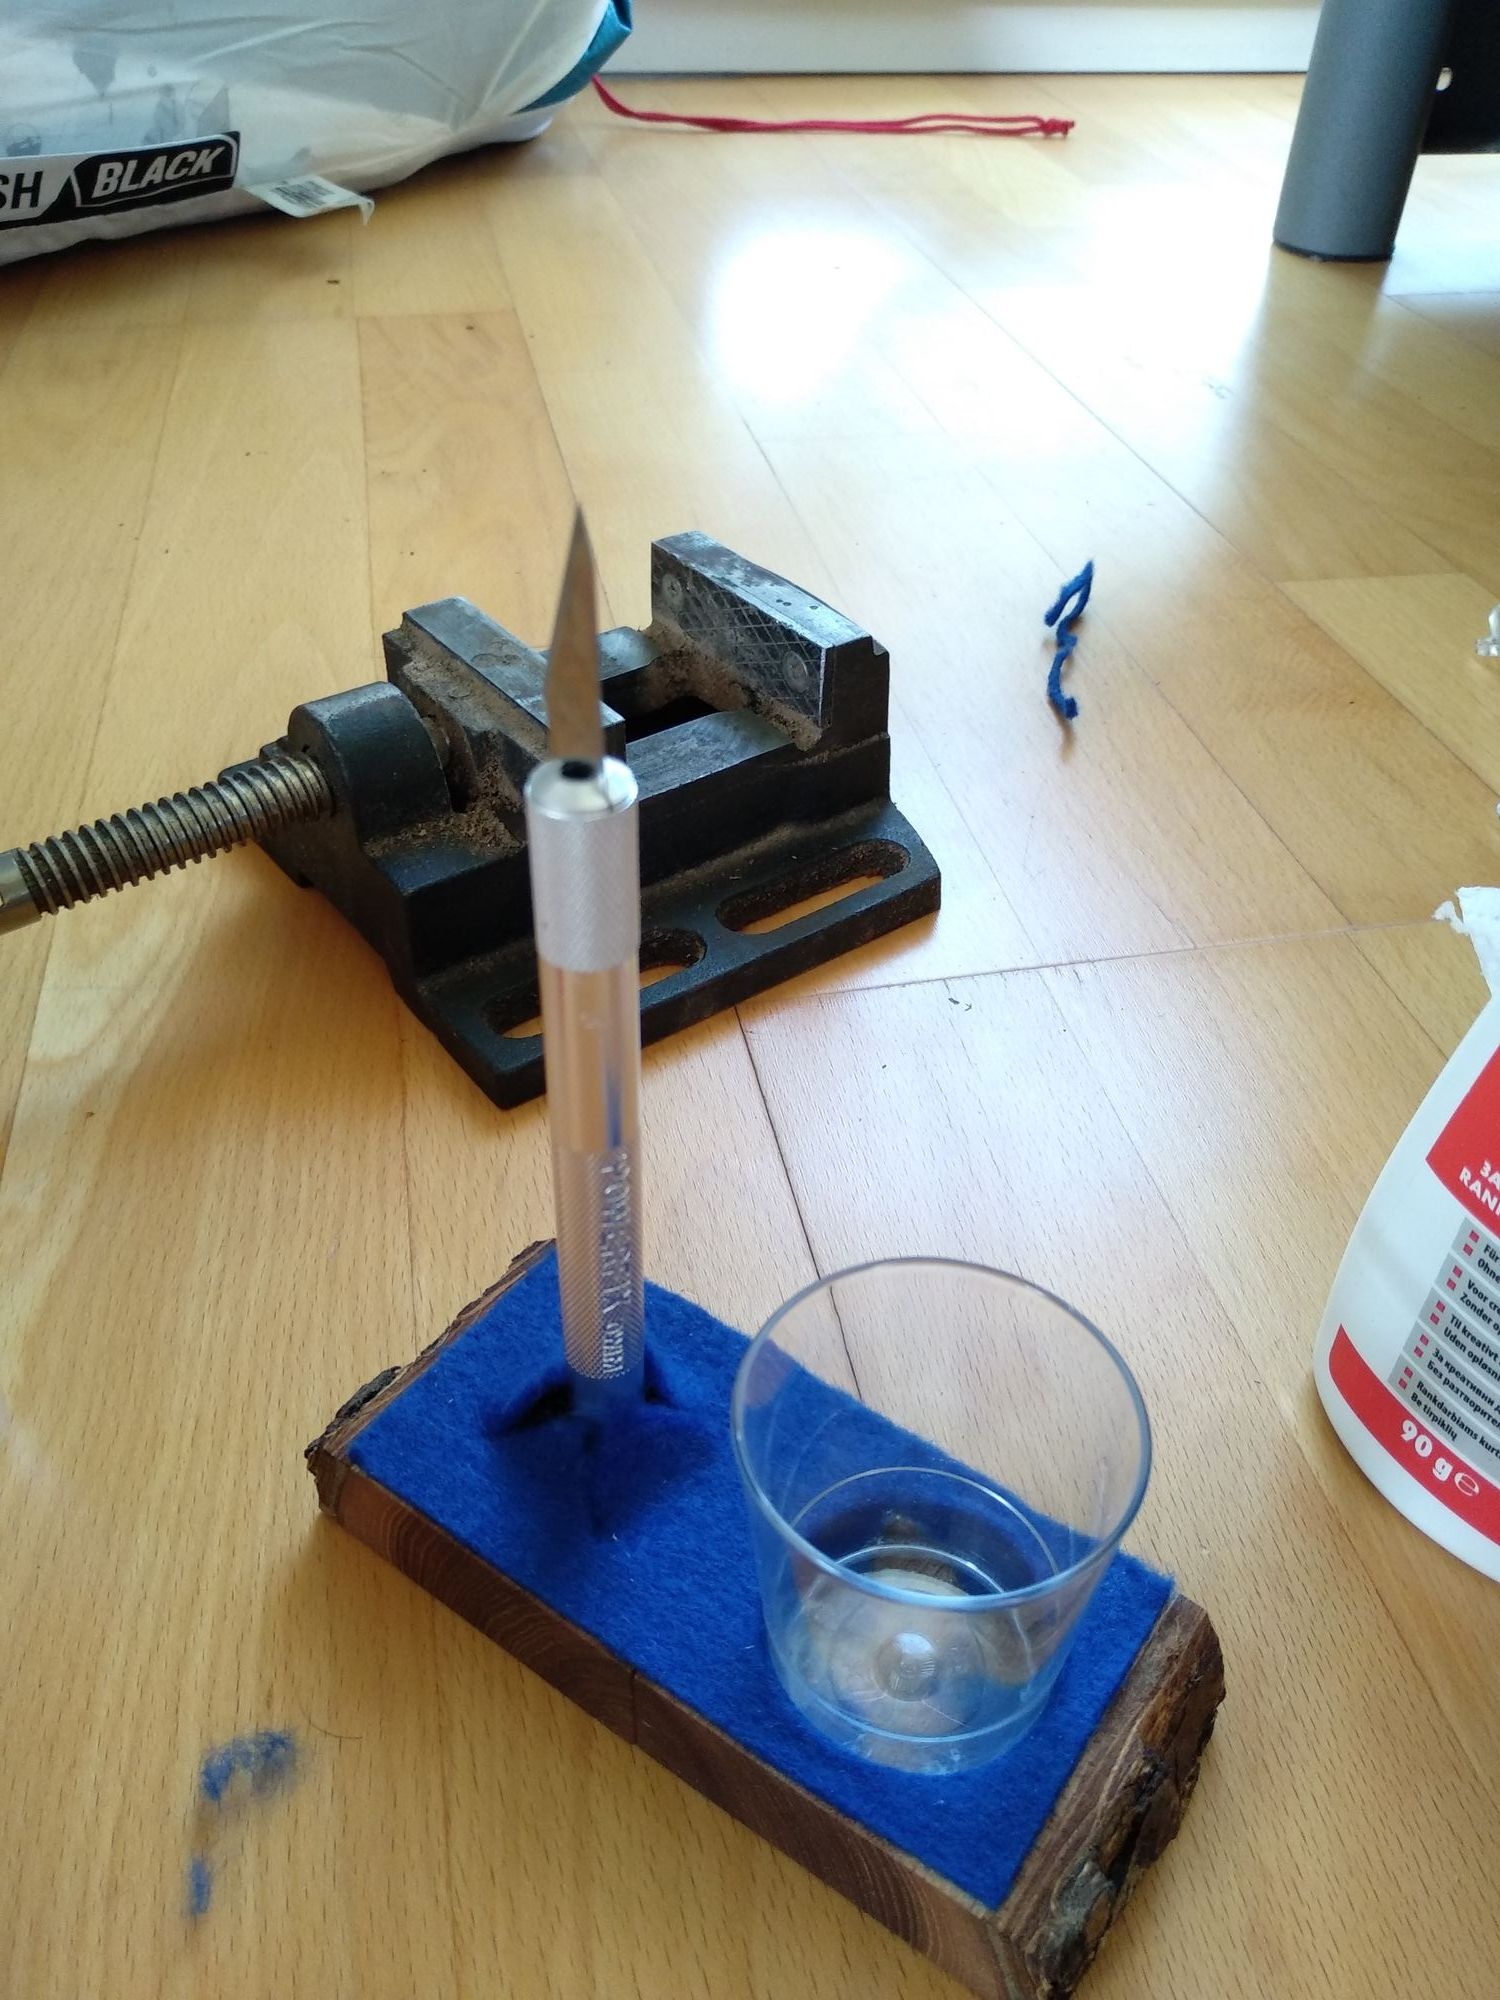
After cutting two big, circular holes into (but not through!) the wood, I continued with oiling up the box (i.e. the two pieces of wood). I tried to prevent the oil from leaking to the inner side by putting on some masking tape. Unfortunately this worked only partially, so I still had to sand down some of the wood (because the glue won’t stick on oily wood).
Then I drilled the holes for the magnets. Double check your measurements and markings to make sure the magnets will align on top of each other, since they are quite small. I used a bit of masking tape wrapped around the drill bit to get the right depth.
Now it’s time to glue the magnets in. Make sure they are oriented properly! I just used regular craft glue and submerged them in it.
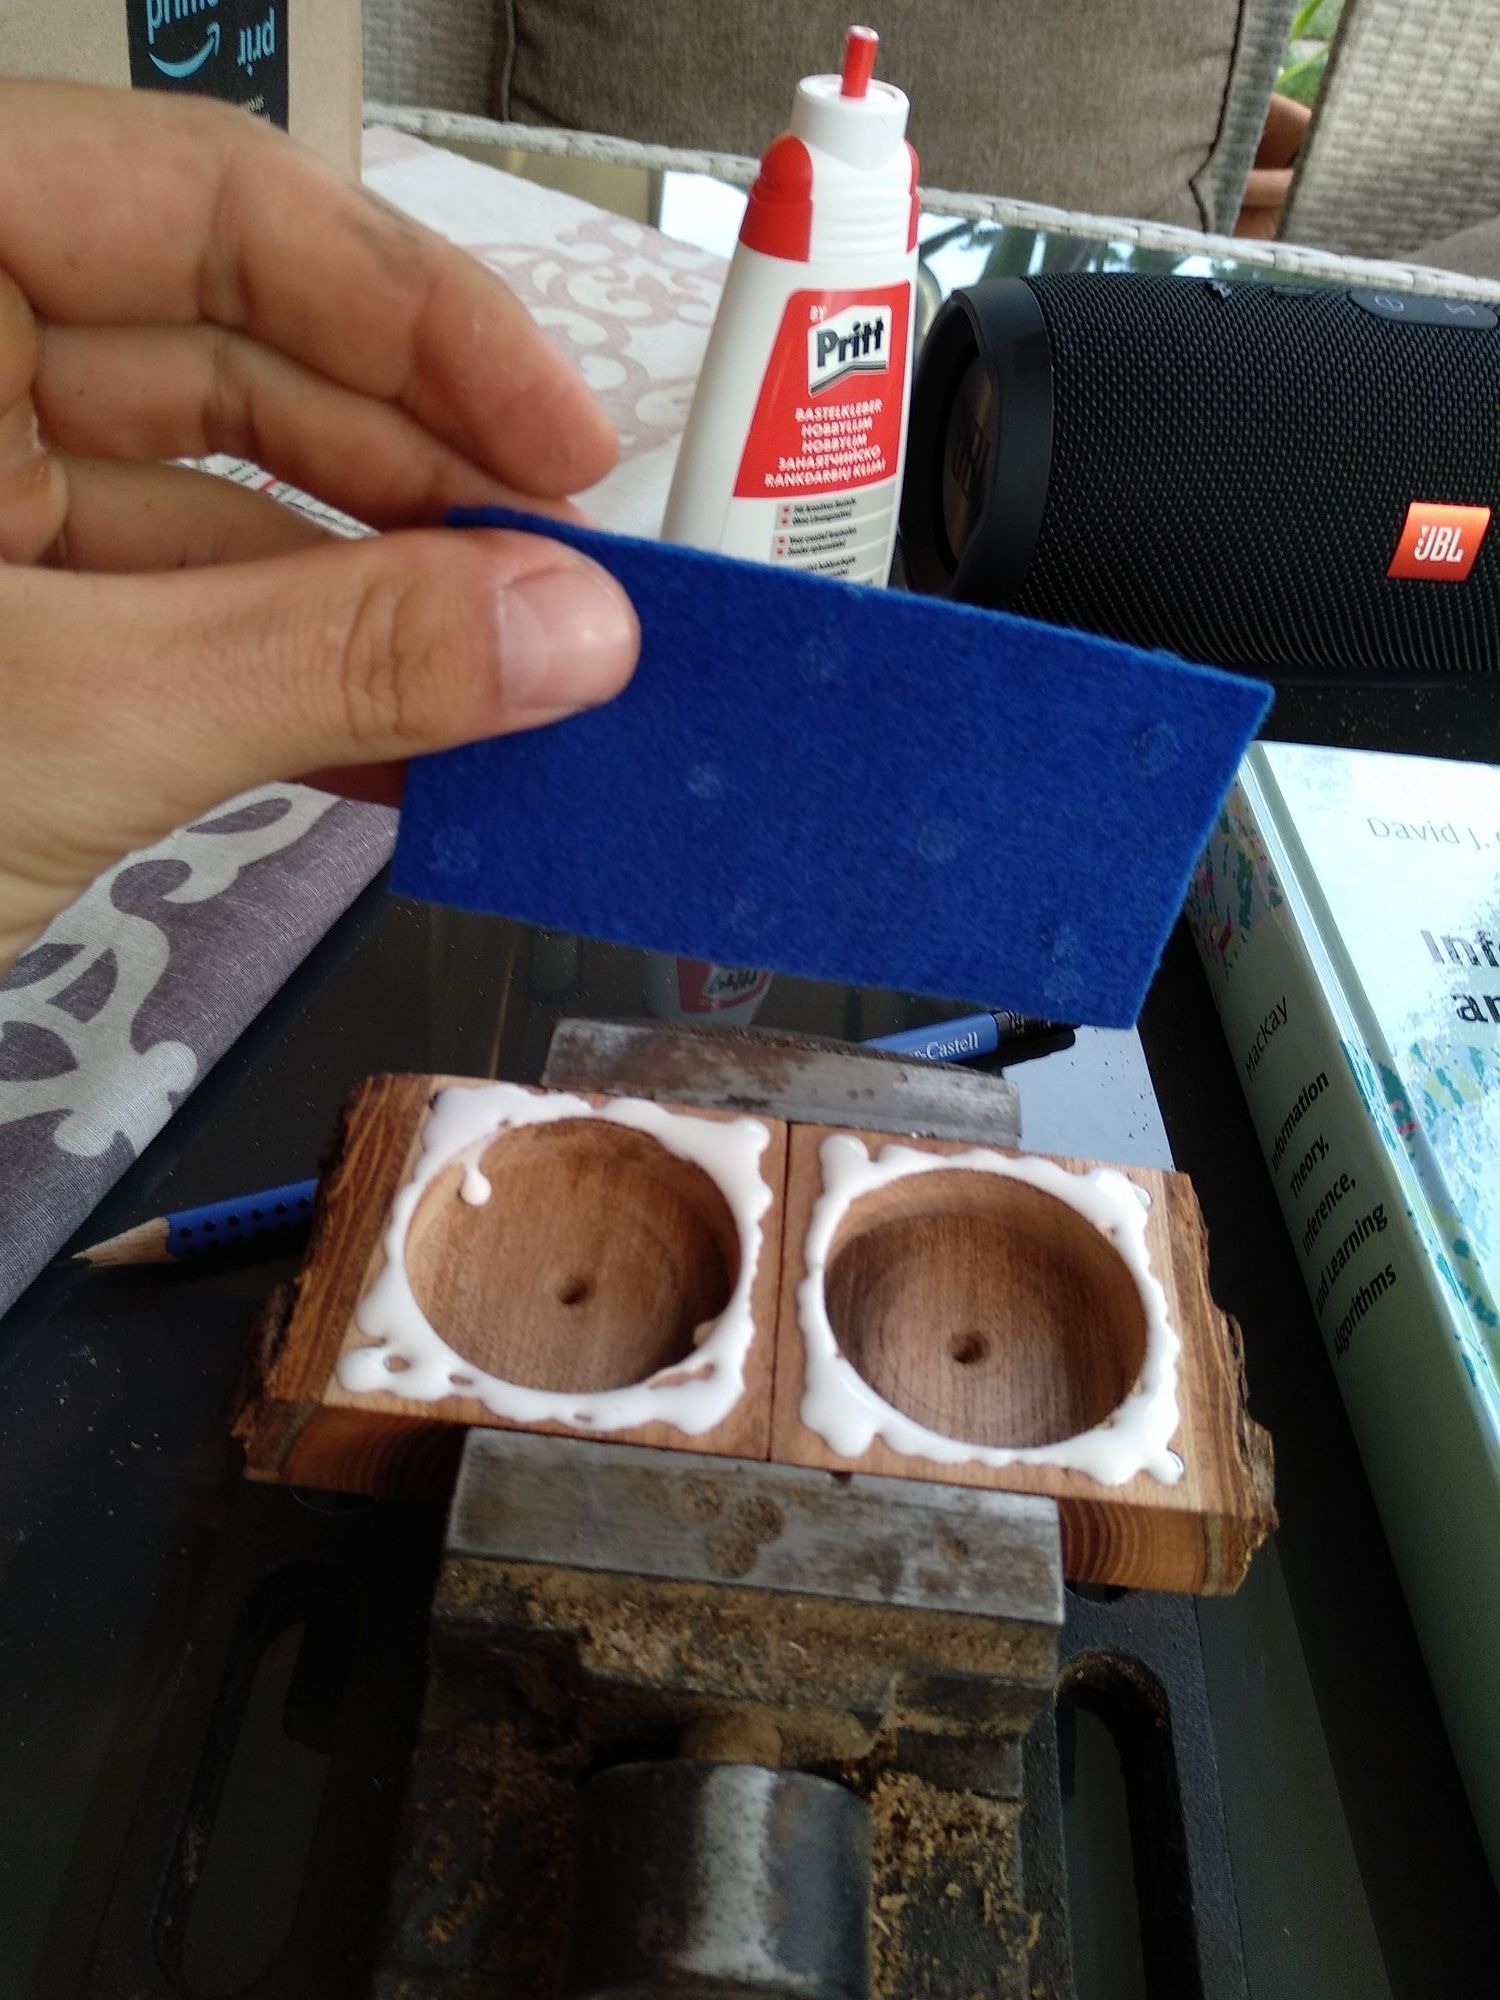
Time to put on the on the cloth. I used some non-woven fabric (fleece).
I put the wood pieces into a vise to make sure they are properly aligned and stay that way until the glue fully dries. Later on I also put some weight (two books) onto the cloth to press it firmly onto the wood.
The next day, after the glue was fully dry, I removed the excess fabric (you can see in the background) and cut out the holes in the cloth. Then I glued the fabric onto the edges of the holes and secured it using these little glasses (just because they had the perfect diameter).
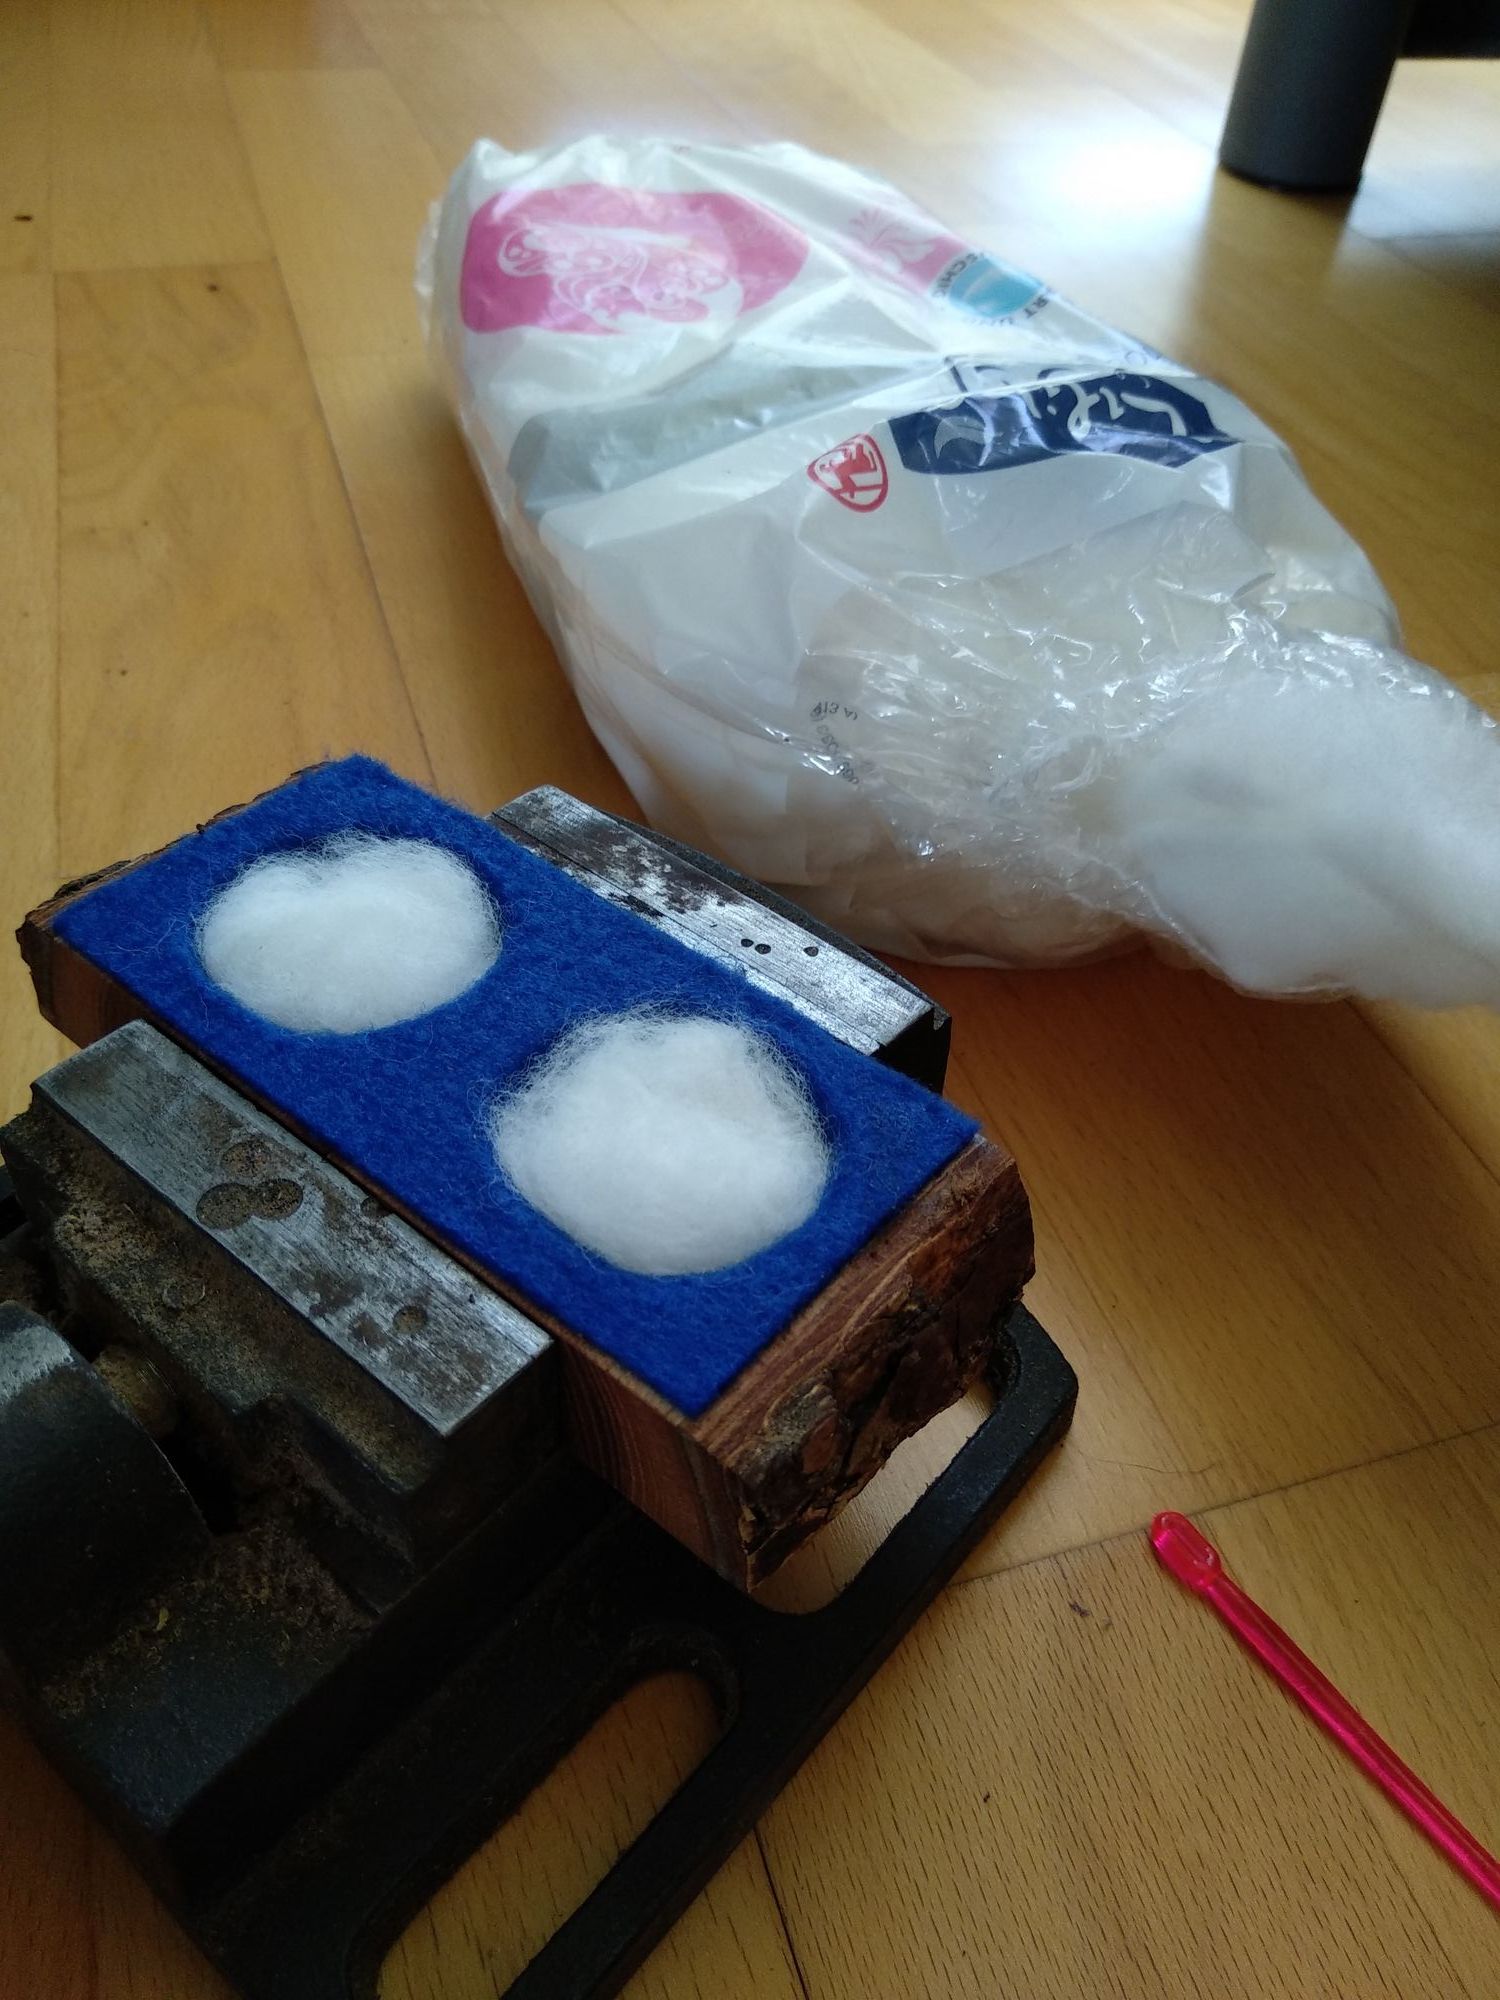
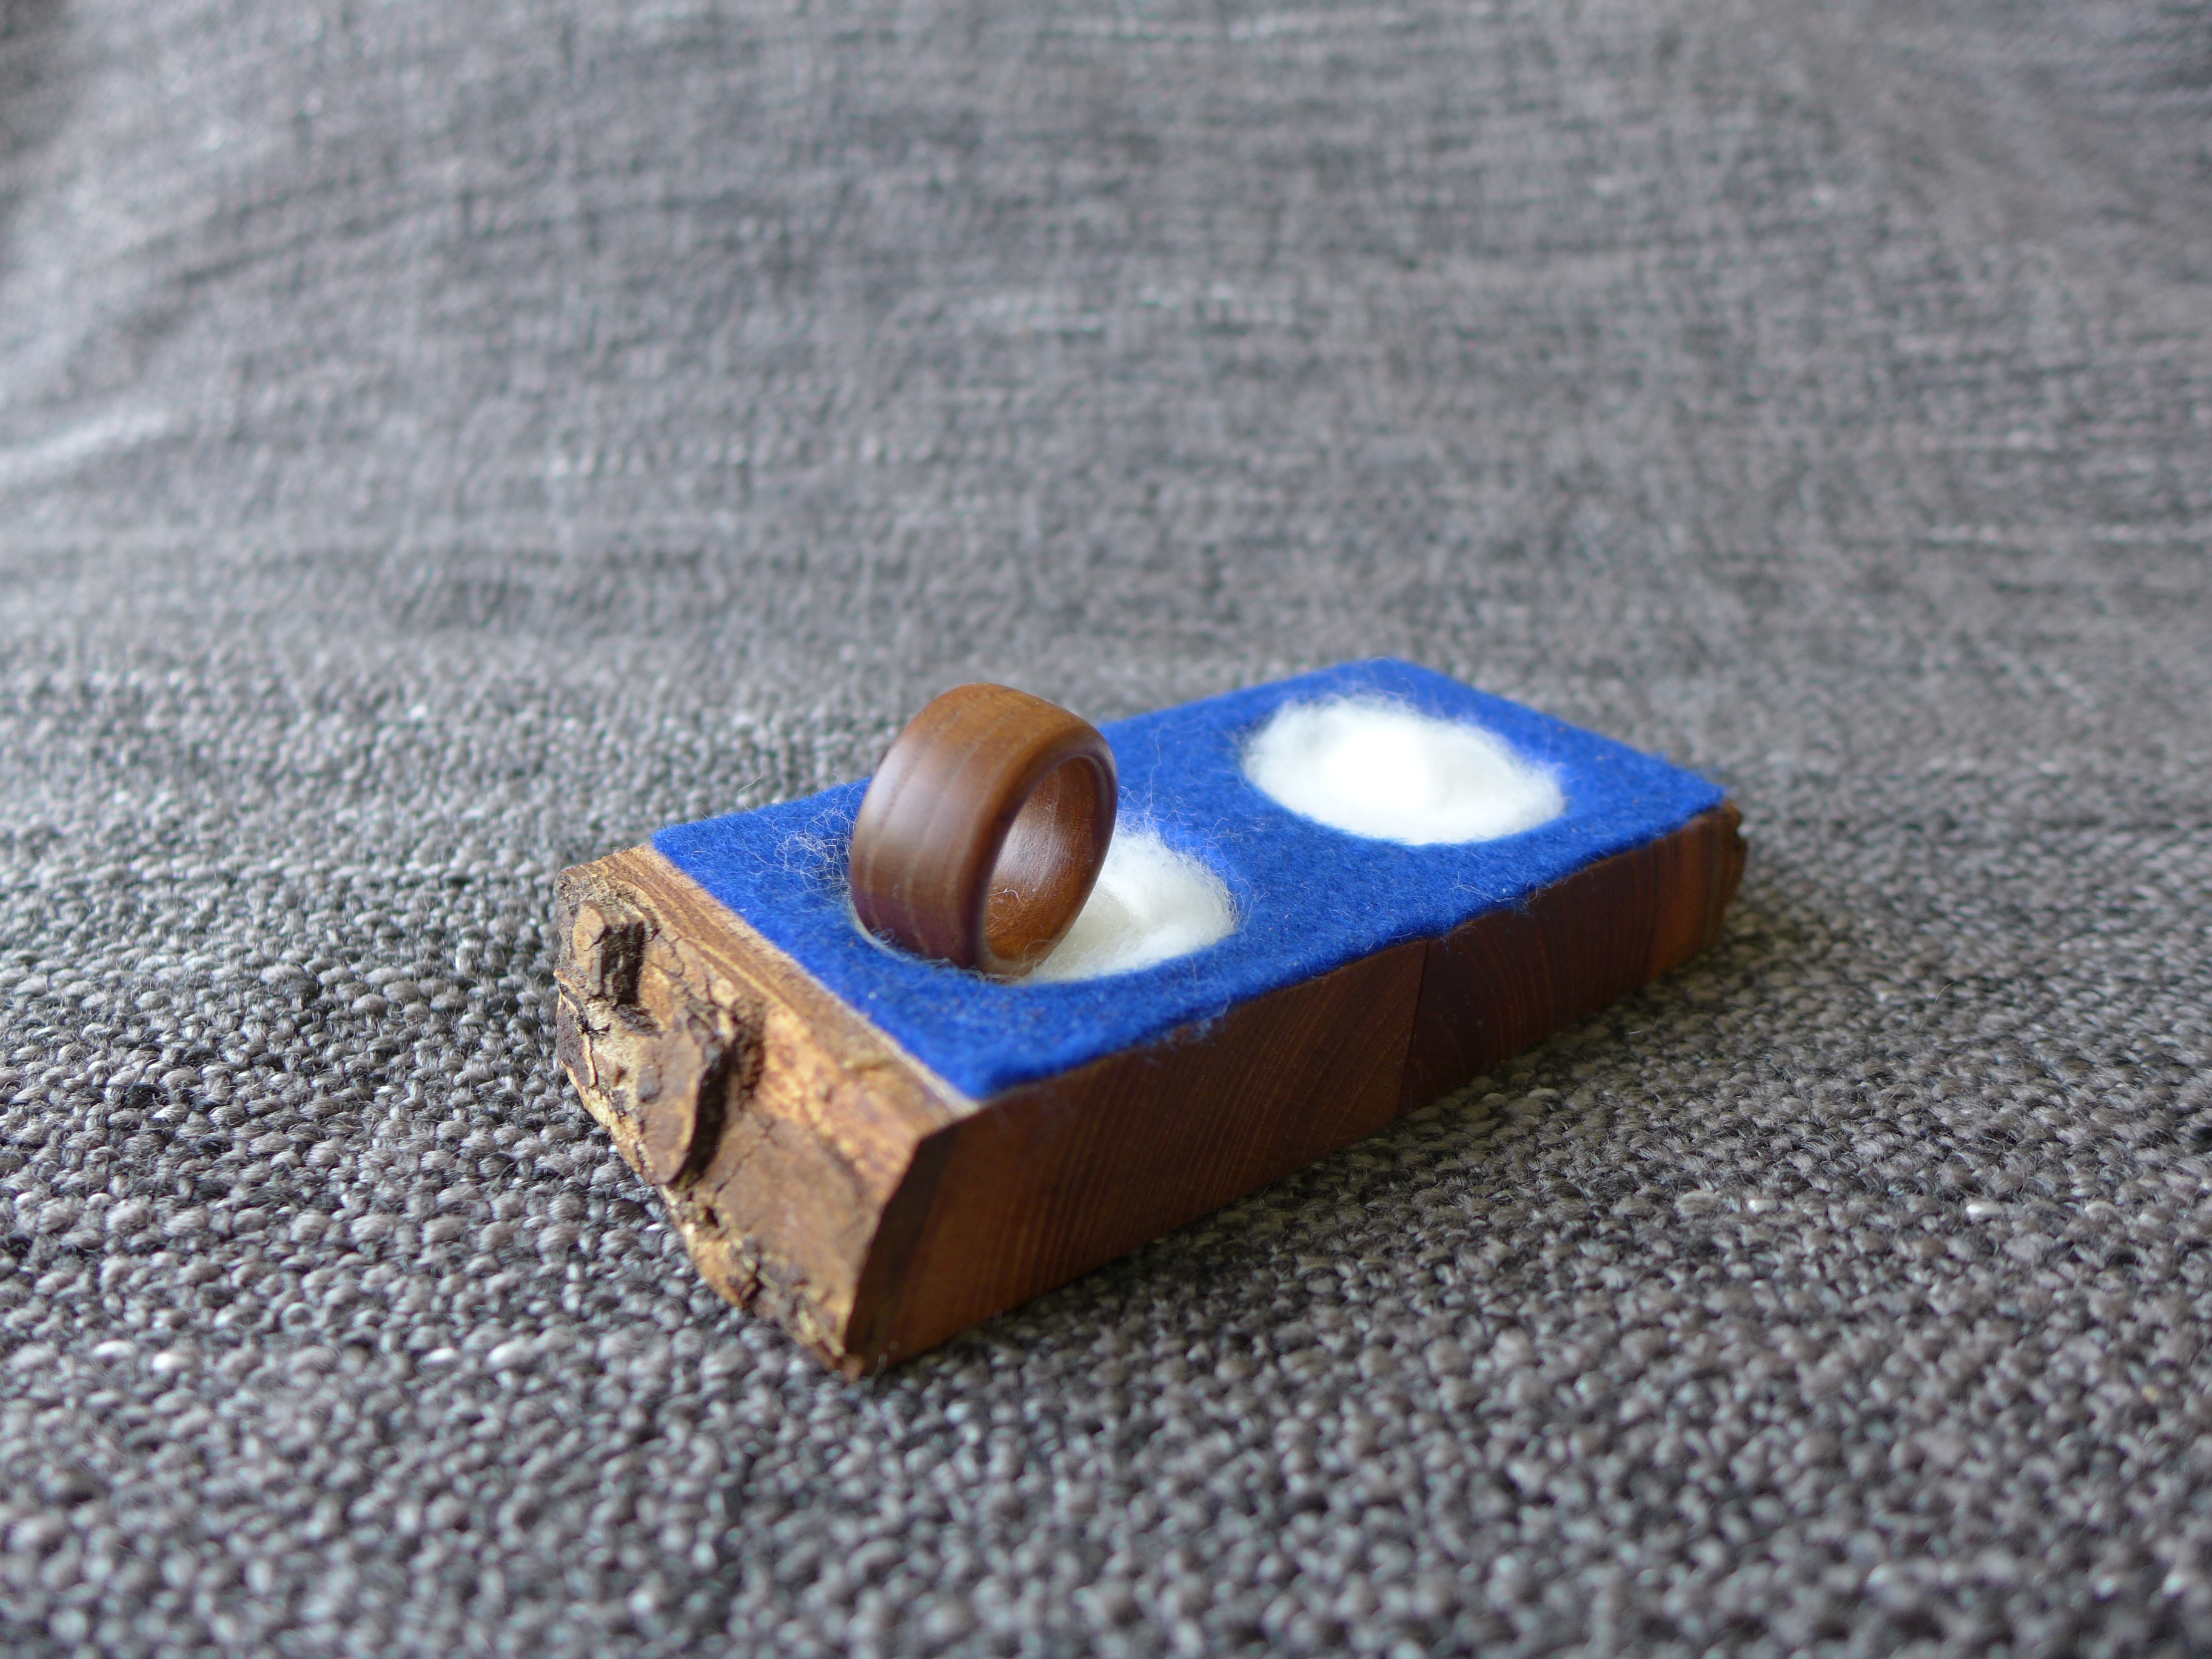
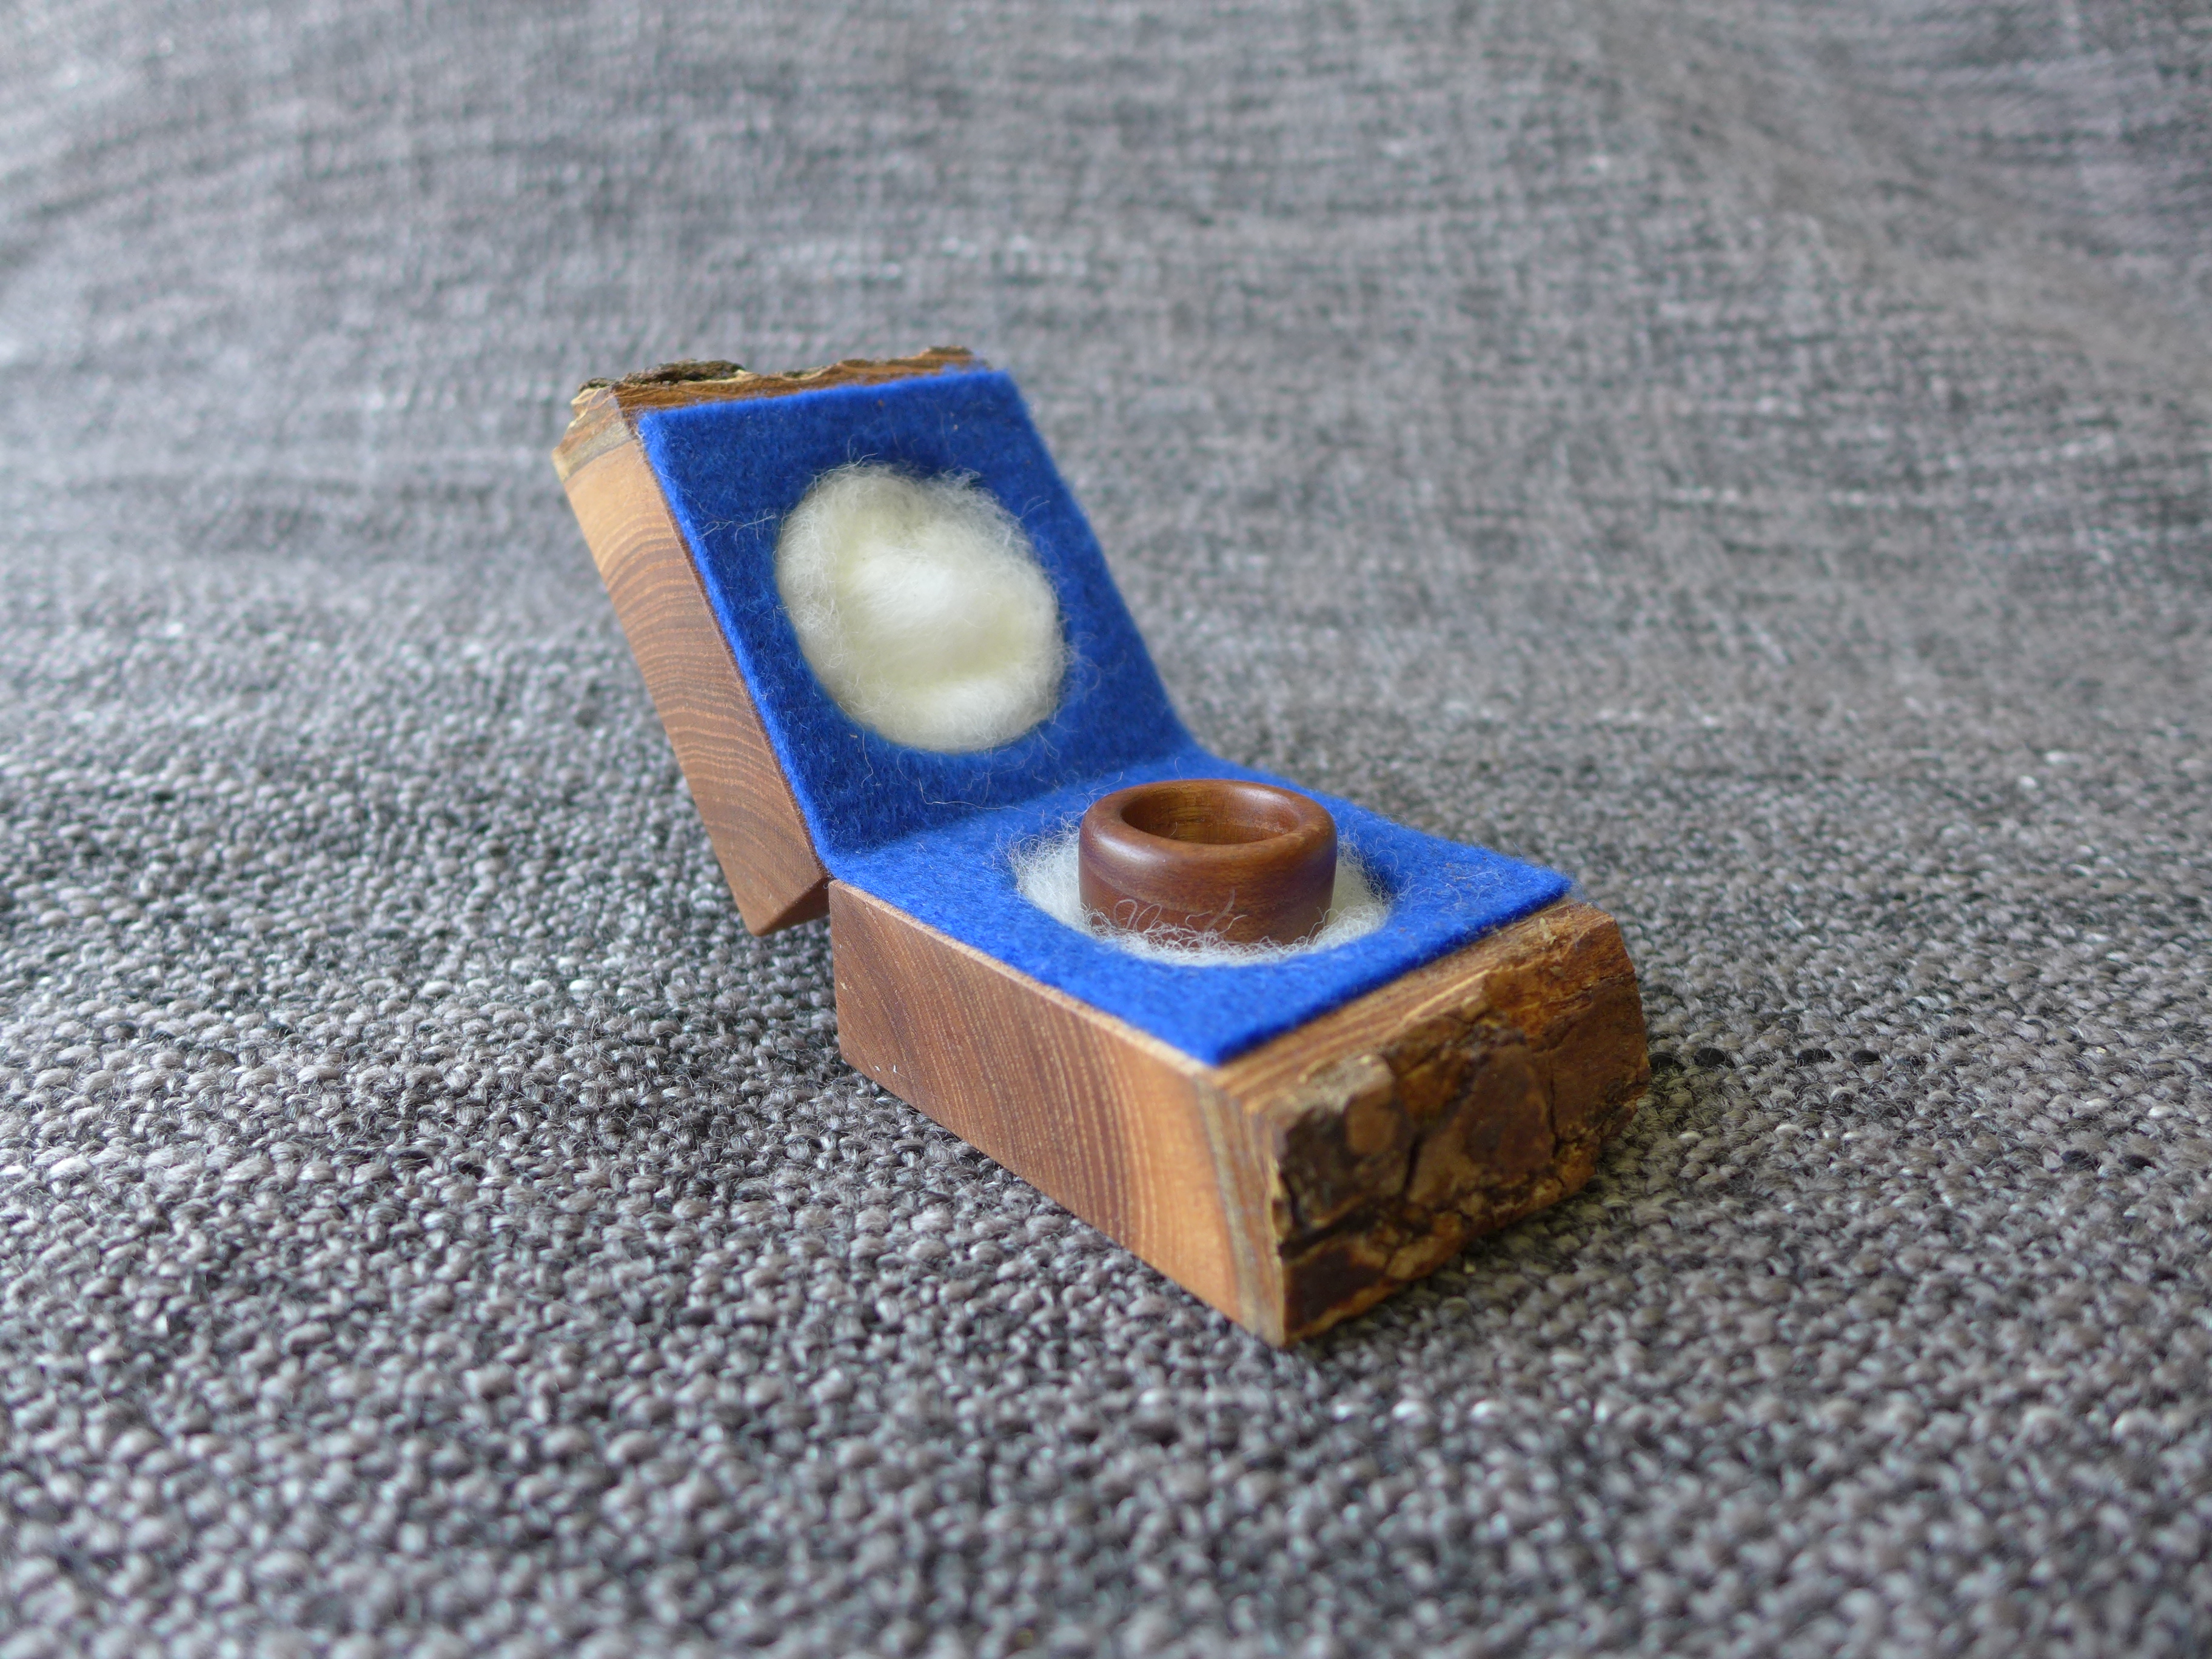
After the glue dried again, I put in the final piece: some soft cotton wool. I rolled them into two balls and glued them in again. I think the white cotton wool and the dark blue fabric create a very rich contrast.
Below are some macro shots of the finished product combined.
I’m really happy about how this project turned out. Especially because it turned out a lot better than I had ever anticipated. I’m very fond of the dark, red-ish color of the wood since it’s something classy but also unusual for a ring. I was not expecting that when I dug out the piece of wood out of my grandfathers basement and also not while initially working with it.
Unfortunately, the magnets I installed in the box are too weak to penetrate the two layers of thick fabric. Despite the fact that I used four of them in a row. I should have used stronger ones, but initially I was concerned about how much space I will have left at the corners of the wood, thus I choose the smaller size (4mm x 1mm). Though I think it’s also fine like this because the wood itself is relatively heavy so there is still a nice resistance when opening the case.
Let’s see what she says …
And she said “Of course I want”.