Adding a picture gallery to your Hugo blog
The Hugo blog engine is quite amazing and extremely powerful.
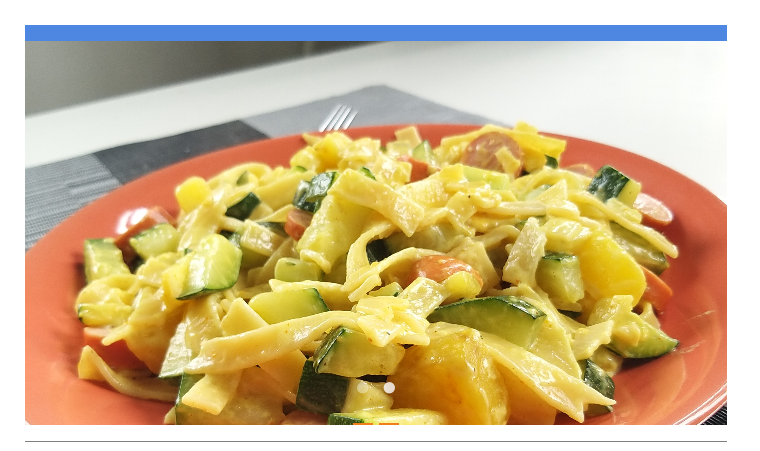
Basic markdown allows embedding images like this:
| |
This is enough to get started, but once you add more images to a web page, you want some optimizations for it. The first step is to provide different resolutions for each picture, so the browser can always pick the one that is appropriate for the viewing dimensions (responsive images), which saves bandwidth resources and time. Using this excellent post about Image Processing with Hugo from Laura Kalbag, I was able to set up a Hugo Shortcode that will generate multiple versions of an image and automatically link to all of them in the resulting HTML (with srcset attribute):
Input Hugo Markdown:
{{< img src="salatini.jpg" alt="Salatini" >}}
Output HTML:
| |
When there are multiple pictures on the same page, I want to consolidate them into one picture gallery.
The first step for this was to find a nice HTML/CSS/(JS) bundle that would take of the gallery effect. The first interesting option I found was Gallery.css from Ben Schwarz. It is simple and even works without JavaScript. I set up a basic demo like this:
| |
Super clean and easy to use. At first I though it was broken, since it didn’t seem like the gallery was working:
Turns out, the buttons were just really hard to see. (can you see the tow round circles at the bottom of the picture?)
While it’s super nice that it only uses HTML/CSS and no JavaScript, it’s really more of a slideshow and less what I understand as a “gallery”. In particular, it was missing the fullscreen viewing mode.
Instead, I opted for lightGallery.js, a simple-to-use yet full-feature JavaScript library for galleries.
| |
This worked fine for the fullscreen view of the gallery, however the individual pictures were still just … pictures on the web page (without any frame or other markup around it). To fix this, I added some more HTML and CSS, to make it look more like a collection of pictures (gallery) and fit in with the rest of the blog style.
Looks good!
What I also like about the HTML above is that even when someone has JavaScript disabled, the detailed view works, since as a fallback the picture (<img>) is wrapped in a link (<a>) to the full resolution picture.
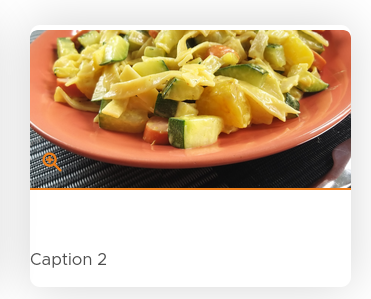
To make it more obvious that clicking / tapping on these images opens a detailed view, I wanted to add a little searchglass icon. I used the “zoom-in” icon from Heroicons. By the way: Heroicons is extremely simple to use. Just search for an icon you like, click on it and the HTML SVG code is copied to your clipboard, available for you to insert it into your web page.
Doing this I learned that there is a neat trick with SVG images in HTML.
While you can just directly embed them into your HTML everywhere you need them, this is not DRY.
Instead, you can use the href attribute of the <use> tag to refer to a symbol definition somewhere else (URL), even just in your own web page (with HTML #anchors).
https://developer.mozilla.org/en-US/docs/Web/SVG/Element/use
https://developer.mozilla.org/en-US/docs/Web/SVG/Attribute/href
In the following example I defined the zoom-in symbol just once (at the end), and then referred to that definition two times (line 9 and 23).
| |
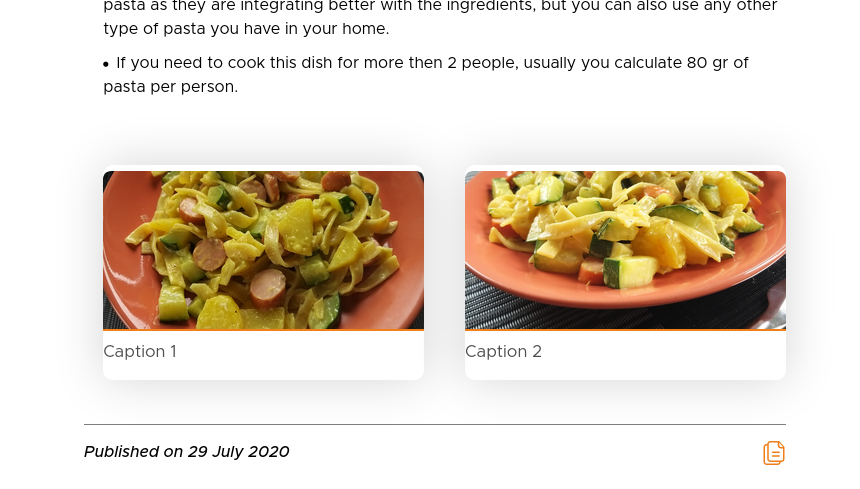
That should be enough for now. Next step: wrap it all up in a Hugo Shortcode for easy re-use! To be precise, two new shortcodes: one for the gallery itself and the other one for the items within the gallery.
{{< gallery >}}
  {{< figure img="pasta1.jpg" caption="Caption 1" >}}
  {{< figure img="pasta2.jpg" caption="Caption 2" >}}
{{< /gallery >}}
The gallery shortcode creates the outer HTML elements for the gallery and most importantly loads the lightGallery.js library and initializes it.
layouts/shortcodes/gallery.html:
| |
The definition of the SVG Icon could be added in the above shortcode snippet, however the theme used for the blog (hugo-swift-theme) already has a partial HTML template where several other SVG icons are defined, so I used that instead.
layouts/shortcodes/figure.html:
| |
The shortcode first retrieves the Resource object for the specified image (img, line 5).
It then creates two versions of the picture: a small thumbnail (Hugo defaults to 75% JPEG compression) and a large version for the fullscreen view (with a maximum width of 1500 pixels and 90% quality).
The links (.RelPermalink) to these generated resources - in this case pictures - are then inserted into the HTML at the appropriate positions, alongside the specified caption.
You can see the gallery in action here.
Overall, adding this little gallery to Adele’s blog was quite an enjoyable learning experience. It took me a few hours to collect all the breadcrumbs, but picking up of each of them was easy enough and didn’t involve any magic.