Running banking apps and other suspects on Custom ROMs with root
There are a number of reasons why it can be a good idea to install an alternative operating system (aka. Custom ROM) on an Android device: better performance, more privacy, longer security updates and of course customization. Whatever the reason may be, users of custom ROMs (including myself) usually struggle with the fact that many banking apps and other “high security” apps refuse to run on rooted devices.
In this post I will share how I managed to work around this issue.
We’ll go over installing LineageOS with Google Apps, installing Magisk and PlayIntegrityFix module, configuring Magisk DenyList to hide root and finally testing the setup with the Play Integrity API Checker.
For reference, I’m using LineageOS 20 (Android 13) on a Motorola Moto G7 Plus (lake).
I got the apps DKB, Revolut, SAP Concur as well as Google Wallet working with this approach.
# Install Custom ROM with GApps
The first step will be installing the custom ROM (in this case LinageOS) along with the necessary components: GApps and Magisk. Installing a custom ROM requires unlocking the bootloader of your phone first, of course. Since procedure is slightly different for each phone, I won’t repeat it here, but the LineageOS wiki has excellent instructions. For example you can find the instructions for the Moto G7 Plus here: https://wiki.lineageos.org/devices/lake/install/#unlocking-the-bootloader.
Out of the box LineageOS does not come with Google Play Services since this is a proprietary component of Android. However, we’ll need this component for the Google Wallet integration and other security related features. Therefore, download the Google Apps package from the LineageOS site: https://wiki.lineageos.org/devices/lake/install/#unlocking-the-bootloader - note that you’ll a version matching the ROM version number.
Just like the ROM itself, the ZIP file is installed via ADB sideloading. Make sure to run this step immediately after installing the ROM.
Note: for all of the following procedures (
adb/fastboot) I had to use a USB2 port since it would not work with a USB3 port. You can also use a USB hub, since these usually downgrade v3 to v2. See: https://reddit.com/r/LineageOS/comments/gofxb6/fastboot_oem_get_unlock_data_outputs_nothing/
After unlocking the bootloader, the installation procedure is as follows:
- Check the devices is visible:
adb devices -l - Reboot into recovery mode:
adb reboot bootloader - Flash Lineage recovery
fastboot flash boot lineage-20.0-20230110-recovery-lake.img - Power off phone and reboot into recovery
- Enable ADB in recovery mode (in the “Advanced” section) and perform factory reset
- Apply update > Apply from ADB
- Run
adb sideload lineage-20.0-20230110-nightly-lake-signed.zipand wait until it completes - Advanced > Reboot to Recovery
- Apply update > Apply from ADB
- Run
adb sideload MindTheGapps-13.0.0-arm64-20221025_100653.zip(confirm installation without signature) - make sure the last line is “Install completed with status 0” - Finally click on Reboot system now
The phone should successfully boot into LineageOS and you can start setting up the phone.

# Install Magisk
At this point we need to install Magisk, which provides “systemless” root access. Systemless means that we don’t need to change any data on the Android partition. Instead Magisk works by injecting special code early in the boot process of the device. The project has a comprehensive installation guide, so make sure to read it all and apply the appropriate procedure for your phone.
In a nutshell: the boot.img of LineageOS we installed in the previous step needs to be modified with the Magisk code.
The Magisk app can do this automatically for us, we just need to provide it the correct file.
Usually you can simply download the boot.img from the LineageOS website (make sure to download the version that matches the LineageOS ZIP!).
In my case the boot.img was unfortunately not available, therefore I had to use the following workaround: extracting the boot image from the LineageOS ZIP itself.
I used the payload-dumper-go project for this task:
| |
Now open the Magisk app, click on “Install” (top-right corner) and patch the image by checking the “Recovery Mode” option and choosing a the boot.img file we just copied via “Select and Patch a File” (see Magisk instructions).
Afterwards we can copy the patched file back to the PC:
| |
Reboot into the recovery mode, then flash the new (patched )recovery image:
| |
Note: if the fastboot process seems stuck while sending, try the following: unplug the phone from the PC before starting, run the
fastboot flash ...command, wait for the> waiting for devicemessage to appear, then plug in the phone. Reference: https://unix.stackexchange.com/a/732659
Now we can reboot the phone once more.
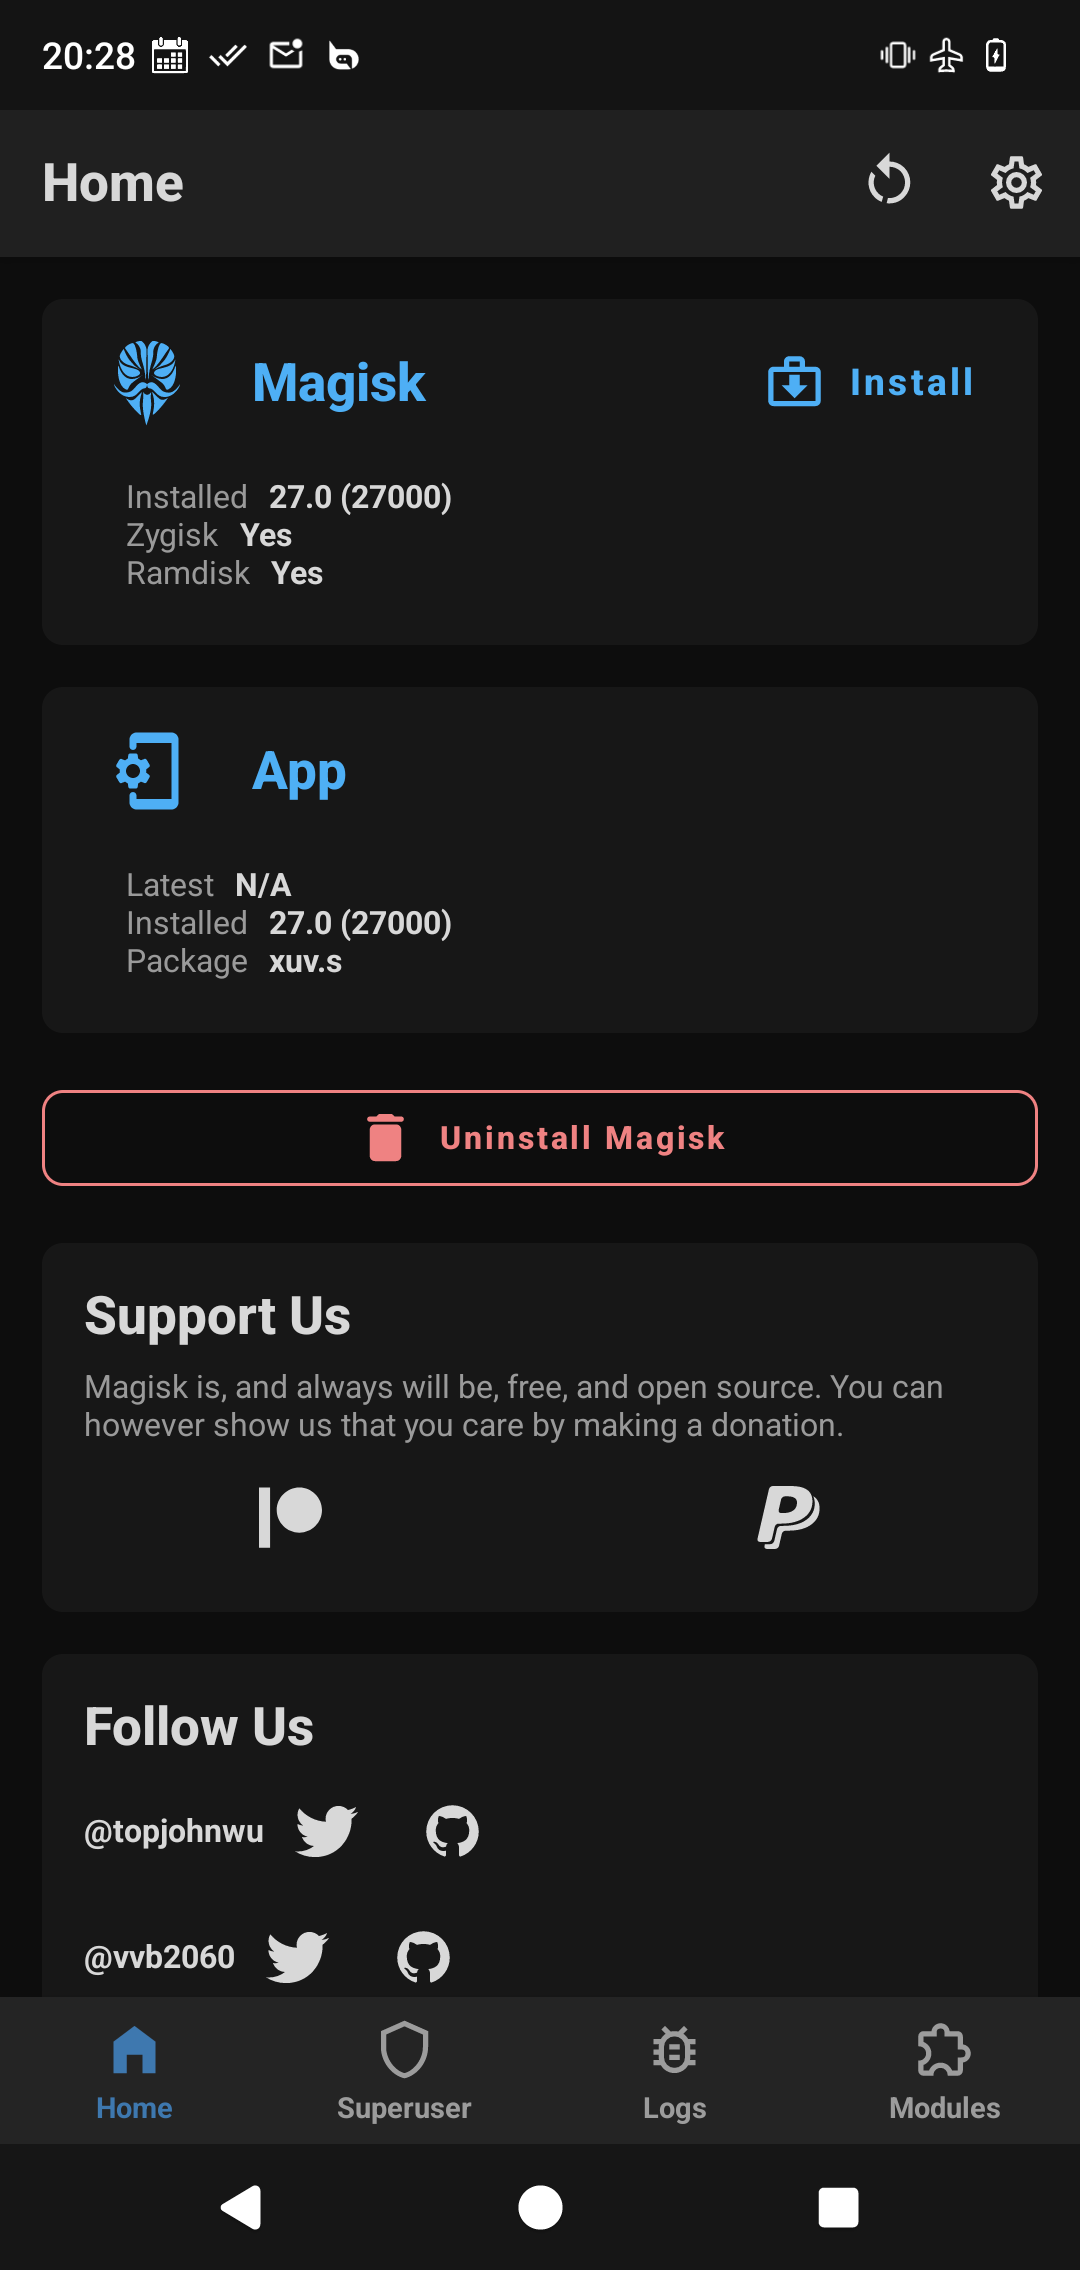
It should start up successfully and now has Magisk capabilities (you can verify this by opening the Magisk app, it should say Installed <VERSION>).
# Install PlayIntegrityFix
PlayIntegrityFix is a Magisk module that hooks into the Play Integrity and SafetyNet frameworks (provided by Google Play Services) and make them return accepted values.
On the phone, download the latest ZIP from the releases page and install via the “Modules” tab at the bottom of the Magisk App, then reboot once again.
# Testing
At this point we need to check the basic functionality, for which we can use a special app called Play Integrity API Checker that should be installed from the Google Play Store.
This should return:

| |
Due to the fact that the bootloader is unlocked, we can’t pass the MEETS_STRONG_INTEGRITY check, but that’s not necessary for most use cases.
The important ones are the MEETS_DEVICE_INTEGRITY and MEETS_BASIC_INTEGRITY checks.
At this point, most financial apps as well as Google Wallet should be working.
# Hide Magisk
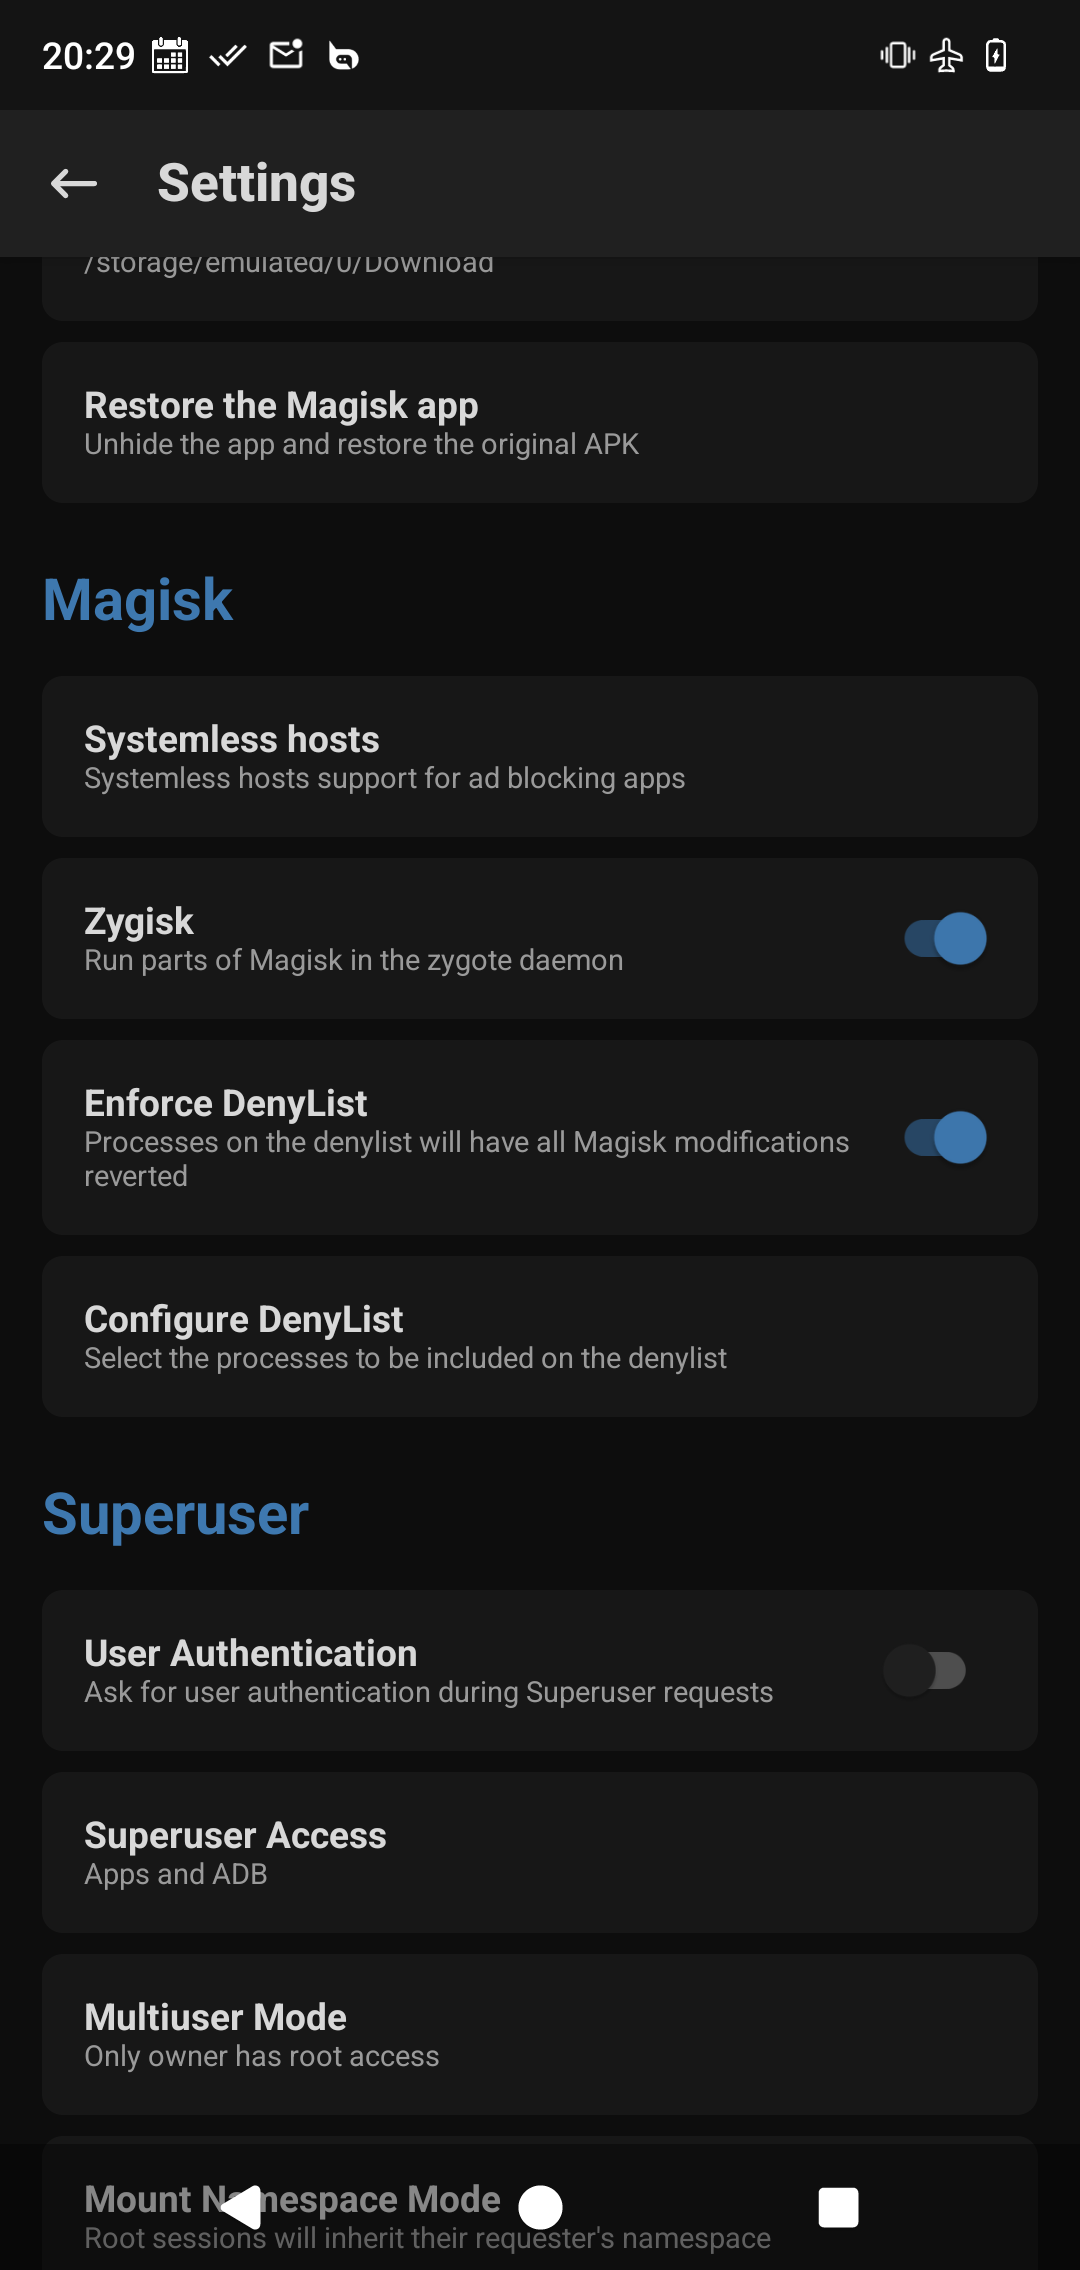
Some apps implement additional, custom checks for the device they run on. To trick these apps into working, we need to “hide” the fact that the phone has root capabilties. Thanks to Magisk’s powerful capabilities, this is possible with the built-in DenyList feature. Open up the Magisk app, click on the Settings icon in the top-right corner, scroll down and enable the Zygisk and Enforce DenyList options.
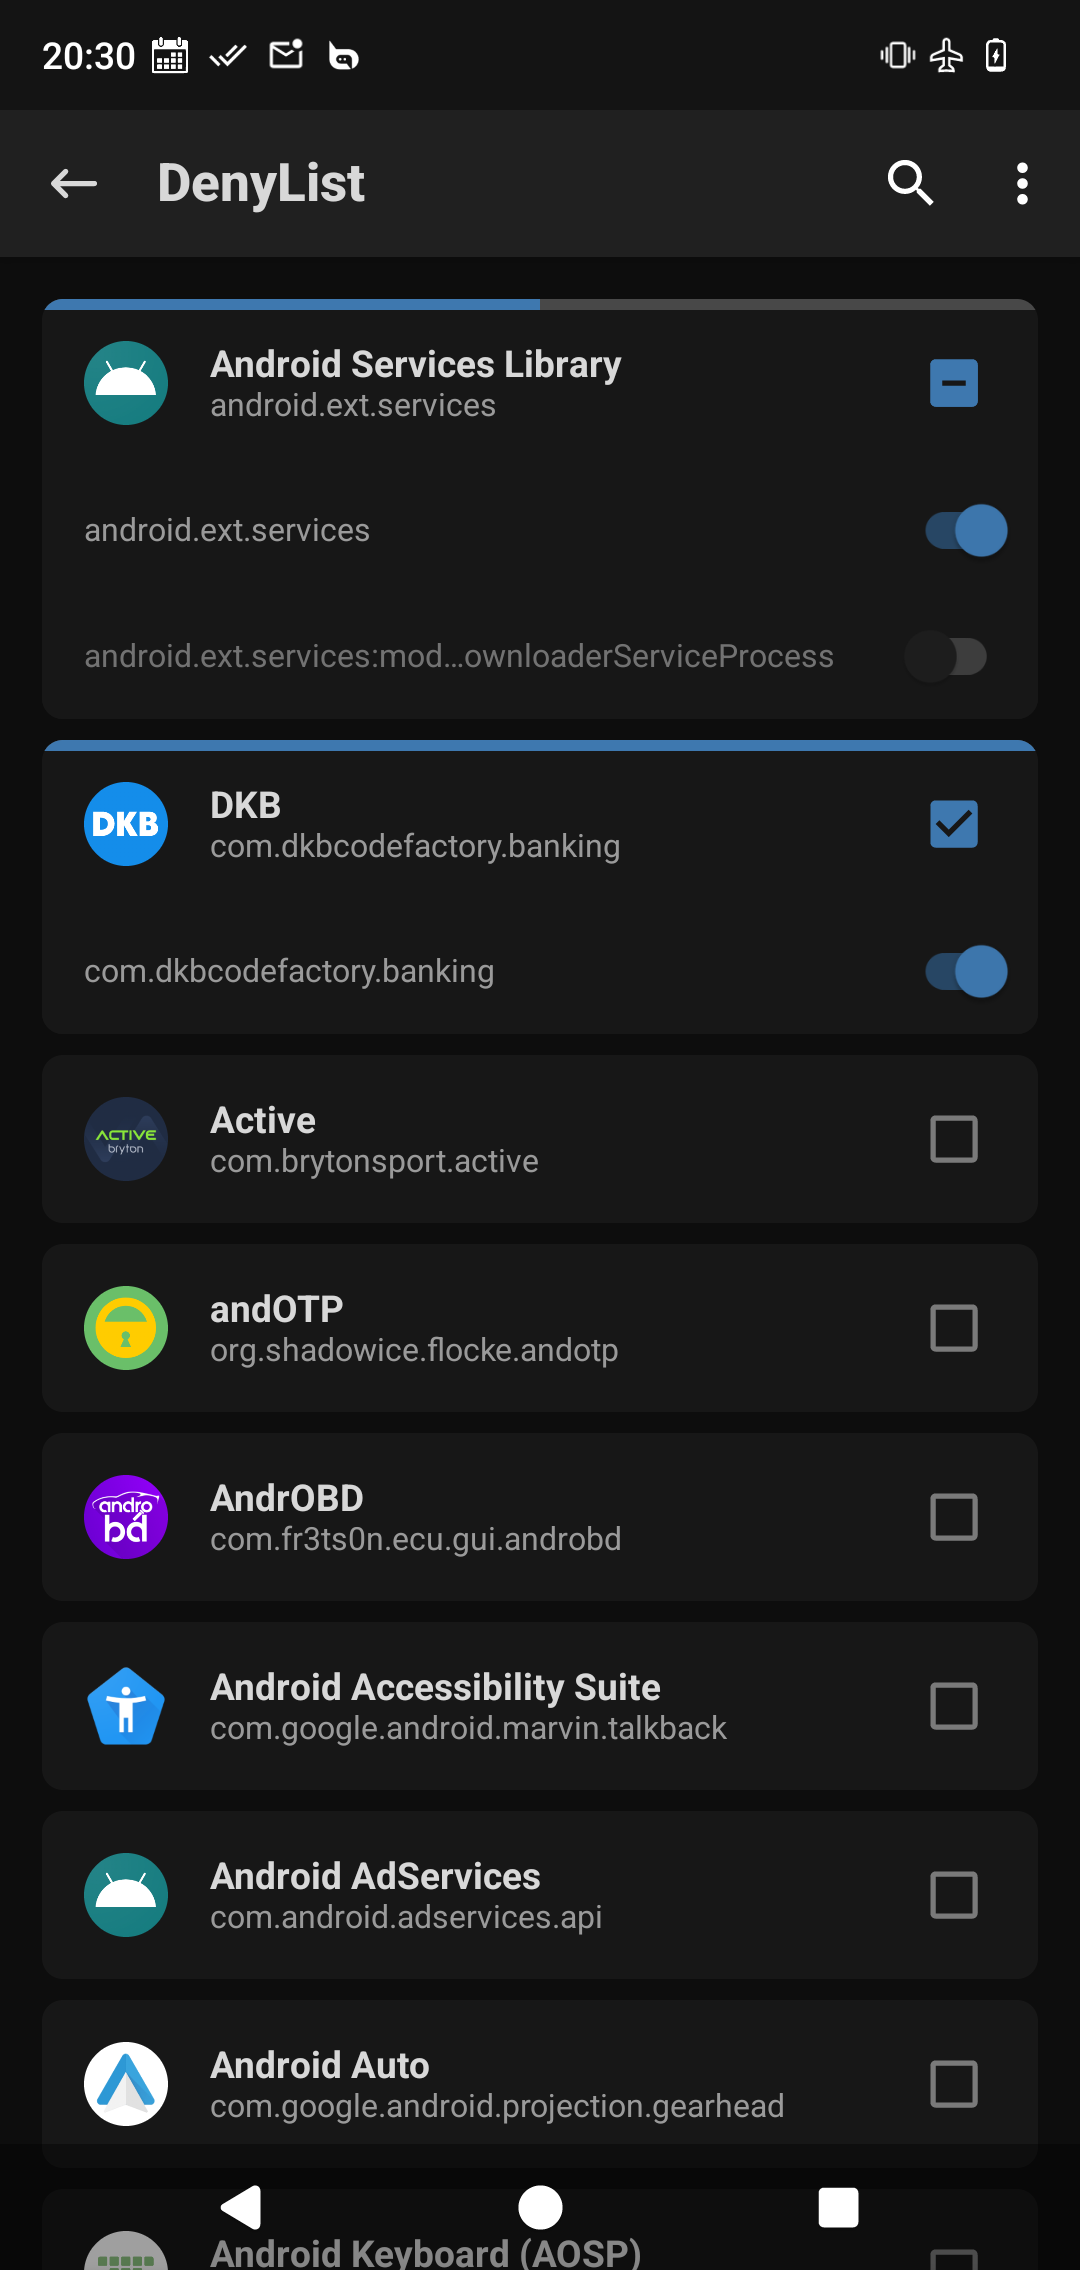
Then configure the DenyList as follows:
- check Android Services Library
- check any other app that you want to hide root capabilities from (in my case DKB)
If this is still not enough, you may also want to try to rename the Magisk app (see Settings > MagiskHide).
Finally, it’s a good idea to clear the local storage of the app we are trying to hide from. This ensures that the previous “bad” state is not persisted across restarts. Now the app should work even though we a custom ROM with root!
Good luck!